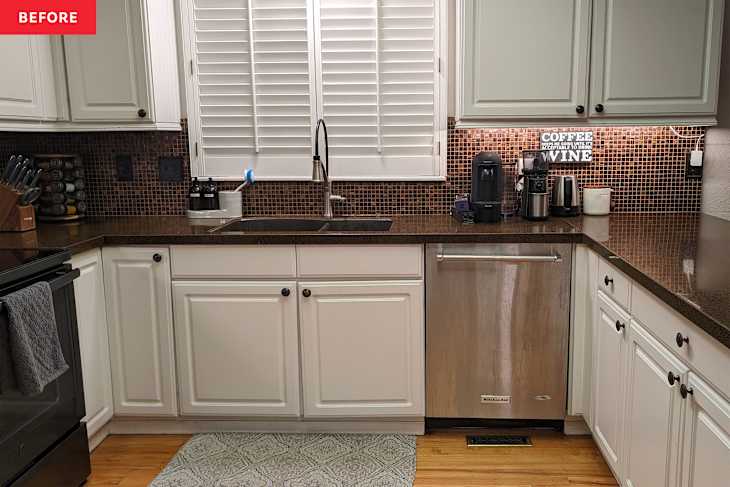
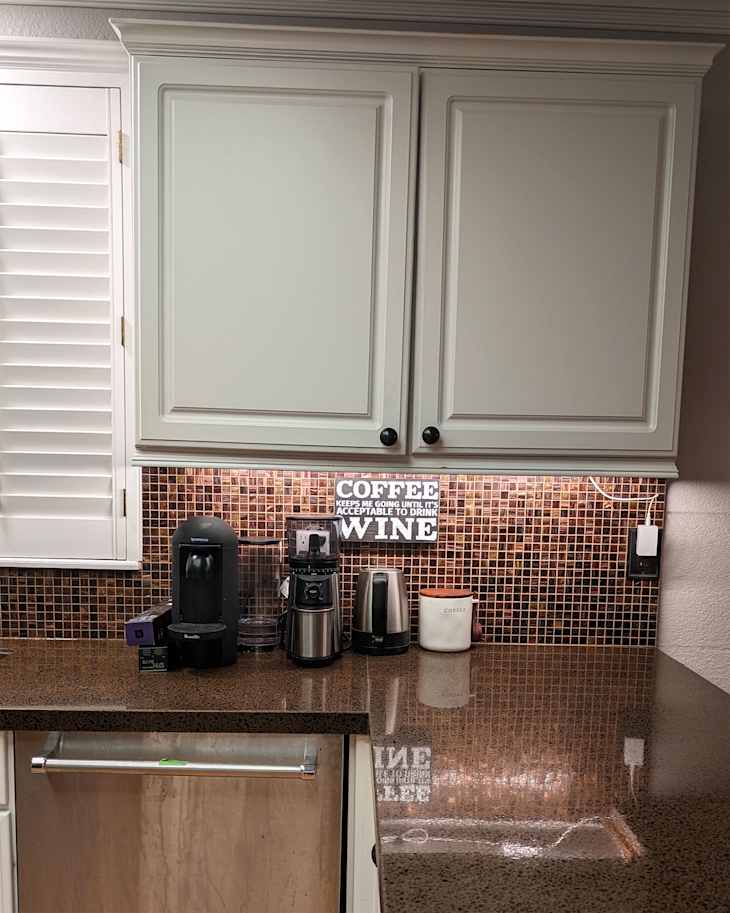
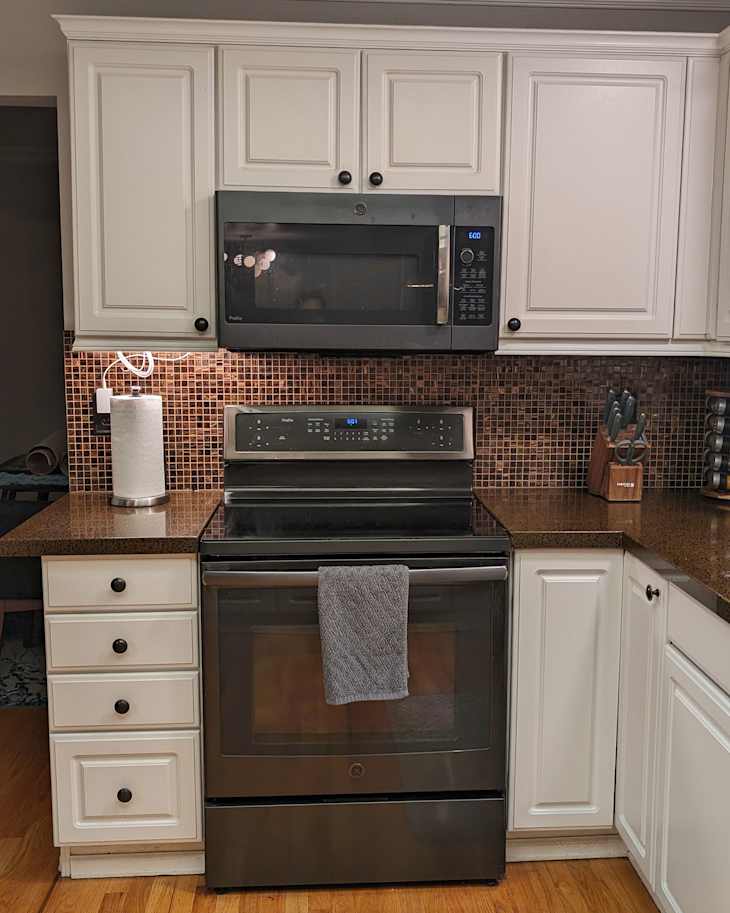
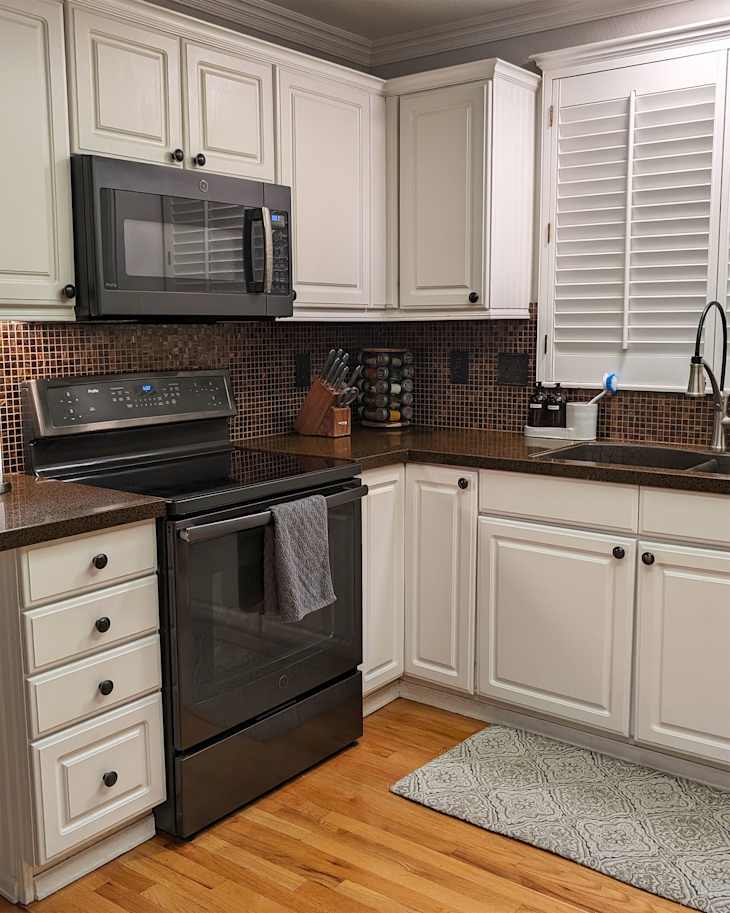
Homeowner Raquel Bielinski (@decoratemyspaceco) was overwhelmed by brown in her 1990s kitchen. “The space felt dark and dated, with brown countertops, a matching brown backsplash, and builder-grade cabinets and fixtures,” Raquel says. So she gave the kitchen an under-$500 spruce-up.
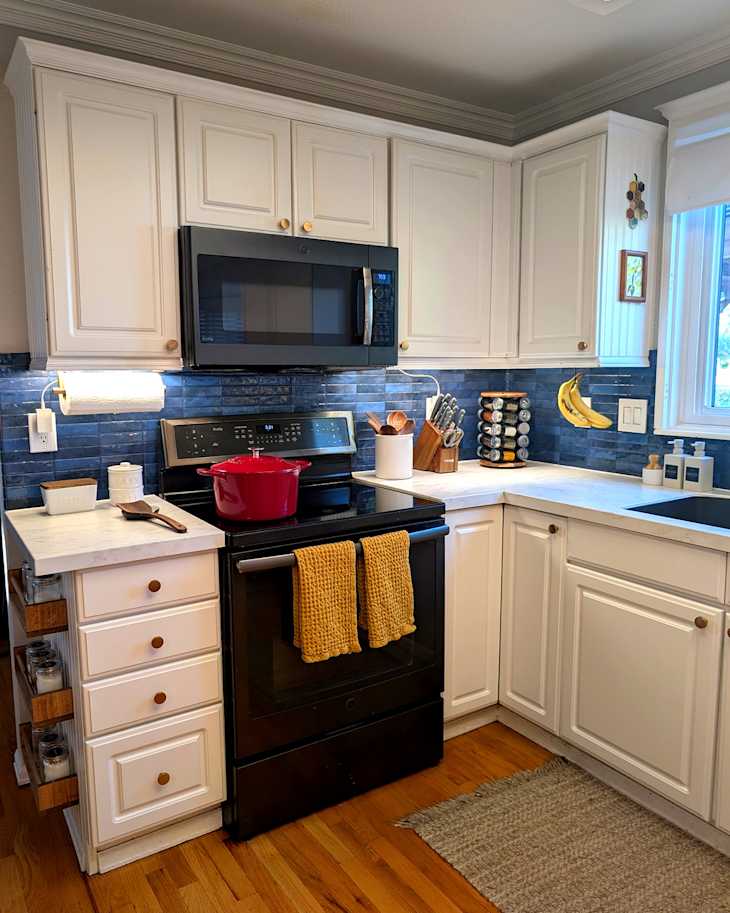
“Using peel-and-stick for both the backsplash and counters gave me a whole new look for just a fraction of a remodel budget,” she says.
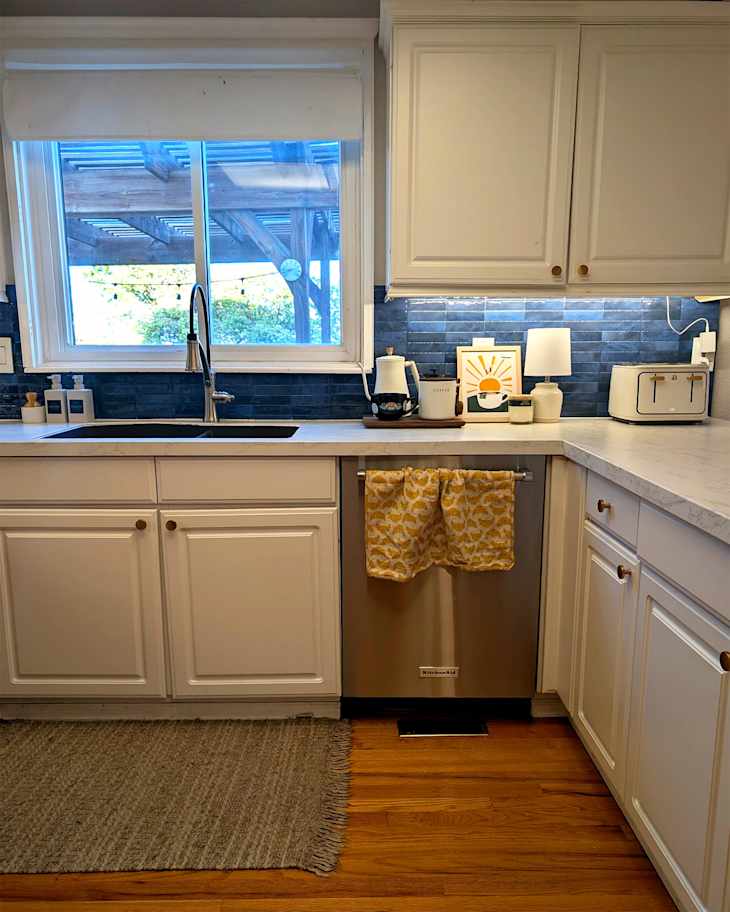
The counters got a new marble look.
Raquel’s existing countertops, although darker than she wanted, were a high-quality quartz, and she wasn’t ready to make the investment to replace them just yet, so she transformed the brown by adding white marble-patterned contact paper over top, which made the whole kitchen feel brighter.
She says the contact paper was slightly tricky to install around the sink because it wasn’t a simple rectangle. For countertops, “a good tip here is to caulk around all the edges,” she says. “Not only does it help protect against water, but it also gives the project a clean, finished look.”
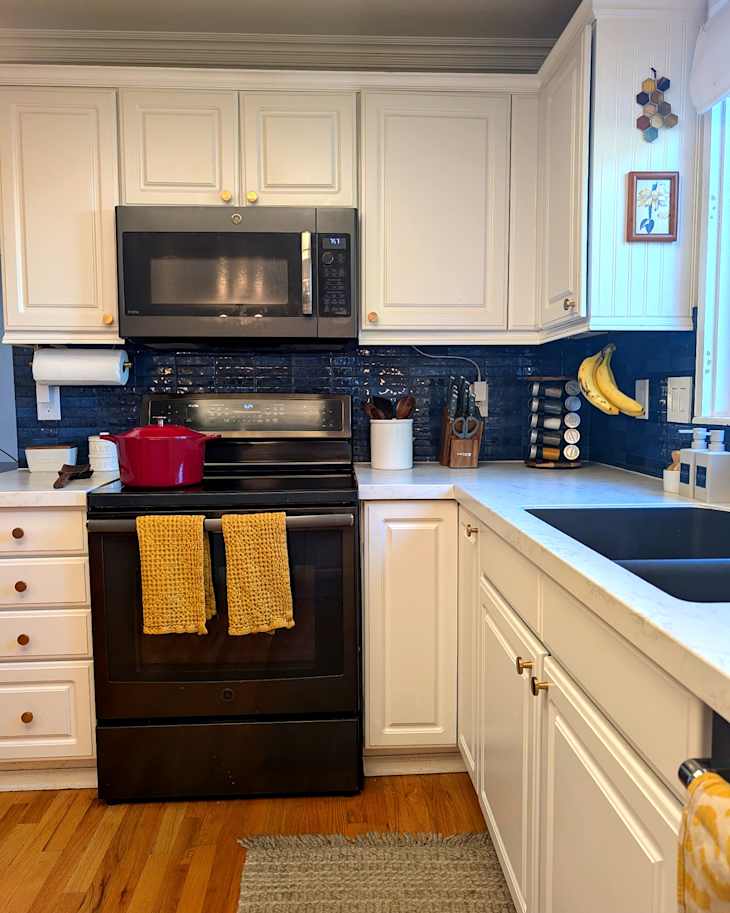
The backsplash got a blue peel-and-stick tile makeover.
She added her peel-and-stick products directly over top of the quartz and tile. If you’re working with easily damagable surfaces like drywall, she recommends adding contact paper or making paper base layers first to make removal easier. “When it’s time to take everything off, a heat gun or blow dryer will make the process smoother,” she says.
Raquel used a blue Smart Tiles backsplash. “I wanted something brighter, more colorful, and personal,” she says. Because her tiles were from Amazon, any extra unopened packs were easily returnable — and Raquel definitely recommends ordering extra when it comes to peel-and-stick products.
“Mistakes happen, and having more than you think you’ll need helps keep the momentum going,” she says. She recommends using a laser level for keeping each piece of peel-and-stick tile aligned.
Lastly, the cabinets got new knobs.
“The cabinets were also in good shape and offered plenty of functional storage, which meant they could stay with just a few thoughtful updates to bring them into the present.”
They got a degreasing on the outside (as did the counters and backsplash to make sure those were ready for peel-and stick) plus a declutter on the inside, too.
“I also see makeovers as the perfect time to tackle those ‘low-hanging fruits.’” Raquel says. “That meant pulling everything out of the cabinets, giving them a good clean, and really assessing what stayed. It’s a chance to let go of things you don’t use, bring forward items you love but don’t use enough, and address those everyday pain points that make the space less functional.” Now, she has a brighter, more functional, more colorful, clutter-free kitchen.