### The Delight of DIY Ice Cream Sandwiches
DIY ice cream sandwiches are a sentimental indulgence that can bring back memories of carefree summer moments. Nonetheless, finding the ideal harmony between cookie and ice cream can prove to be difficult. Many cookies harden and become rigid when frozen, resulting in an unsatisfactory eating experience. To craft a successful ice cream sandwich, it’s vital to keep texture, flavor, and assembly techniques in mind.
#### Essential Tips for Ideal Ice Cream Sandwiches
1. **Cookie Consistency**: Classic chocolate chip cookies can turn rock-solid in the freezer. To counter this, think about preparing a cake-like cookie. By incorporating milk into the dough, you can achieve a softer, blondie-style texture that withstands freezing better.
2. **Flavor Amplification**: Freezing may dull flavors, so it helps to moderately boost the sweetness and saltiness of the cookie dough. This modification guarantees the cookies retain their delightful taste even after being frozen.
3. **Streamlined Assembly**: Rather than filling separate cookies with ice cream, a more streamlined approach is to bake a single layer of cookie dough in a pan. Once baked, cut the cookie in half to form the top and bottom of the ice cream sandwich, thus simplifying the task.
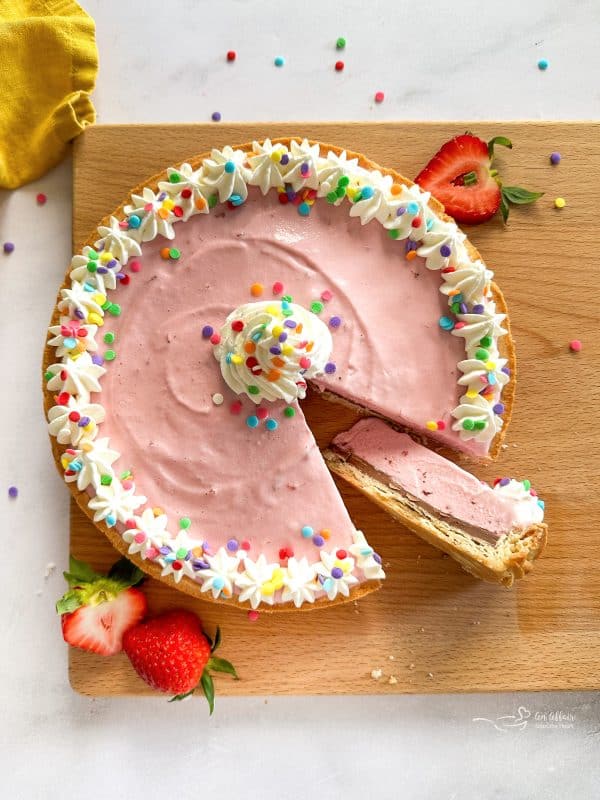
#### An Irresistible Recipe: Chipwich Ice Cream Cake
This recipe fuses the beloved flavors of a chipwich into a cake form, making it ideal for celebrations. It’s simple to make, requiring just one bowl for the cookie batter while utilizing store-bought ice cream.
**Ingredients**:
– 1/2 cup (4 ounces) unsalted butter
– Just under 1 teaspoon kosher salt
– 1 cup (215 grams) packed light brown sugar
– 1/3 cup (80 ml) cold milk
– 1 large egg
– 1 1/2 teaspoons vanilla extract
– 1 teaspoon baking powder
– 1 cup (130 grams) all-purpose flour
– 1 1/2 cups (9 ounces) miniature chocolate chips, divided
– 3 cups (1 container) vanilla ice cream
**Instructions**:
1. **Preheat the Oven**: Set your oven temperature to 350°F (175°C). Prepare two 8-inch round cake pans by lining them with parchment paper and greasing the sides.
2. **Prepare the Cookie Batter**: Melt the butter and blend it with salt, brown sugar, and milk until smooth. Let it cool slightly, then incorporate the egg and vanilla. Mix in the baking powder, flour, and half of the chocolate chips.
3. **Bake the Cookies**: Distribute the batter evenly between the two pans, ensuring the tops are smooth. Sprinkle the remaining chocolate chips on top. Bake for approximately 15 minutes until golden around the edges but soft at the center. Allow them to cool, then freeze for 10 minutes.
4. **Construct the Cake**: Line one of the pans with plastic wrap. Place one cookie round at the bottom, spread ice cream evenly over it, and top with the second cookie round. Cover and place in the refrigerator for 3 to 6 hours, preferably overnight.
5. **Serve**: After it has firmed up, extract the cake from the pan using the plastic wrap. Press the leftover chocolate chips onto the sides, cut into wedges, and savor!
#### Final Thoughts
DIY ice cream sandwiches can be a wonderful addition to any summer get-together. By concentrating on cookie texture, enhancing flavors, and employing efficient assembly techniques, you can concoct a treat that is both nostalgic and gratifying. Enjoy the process and the delightful outcomes!