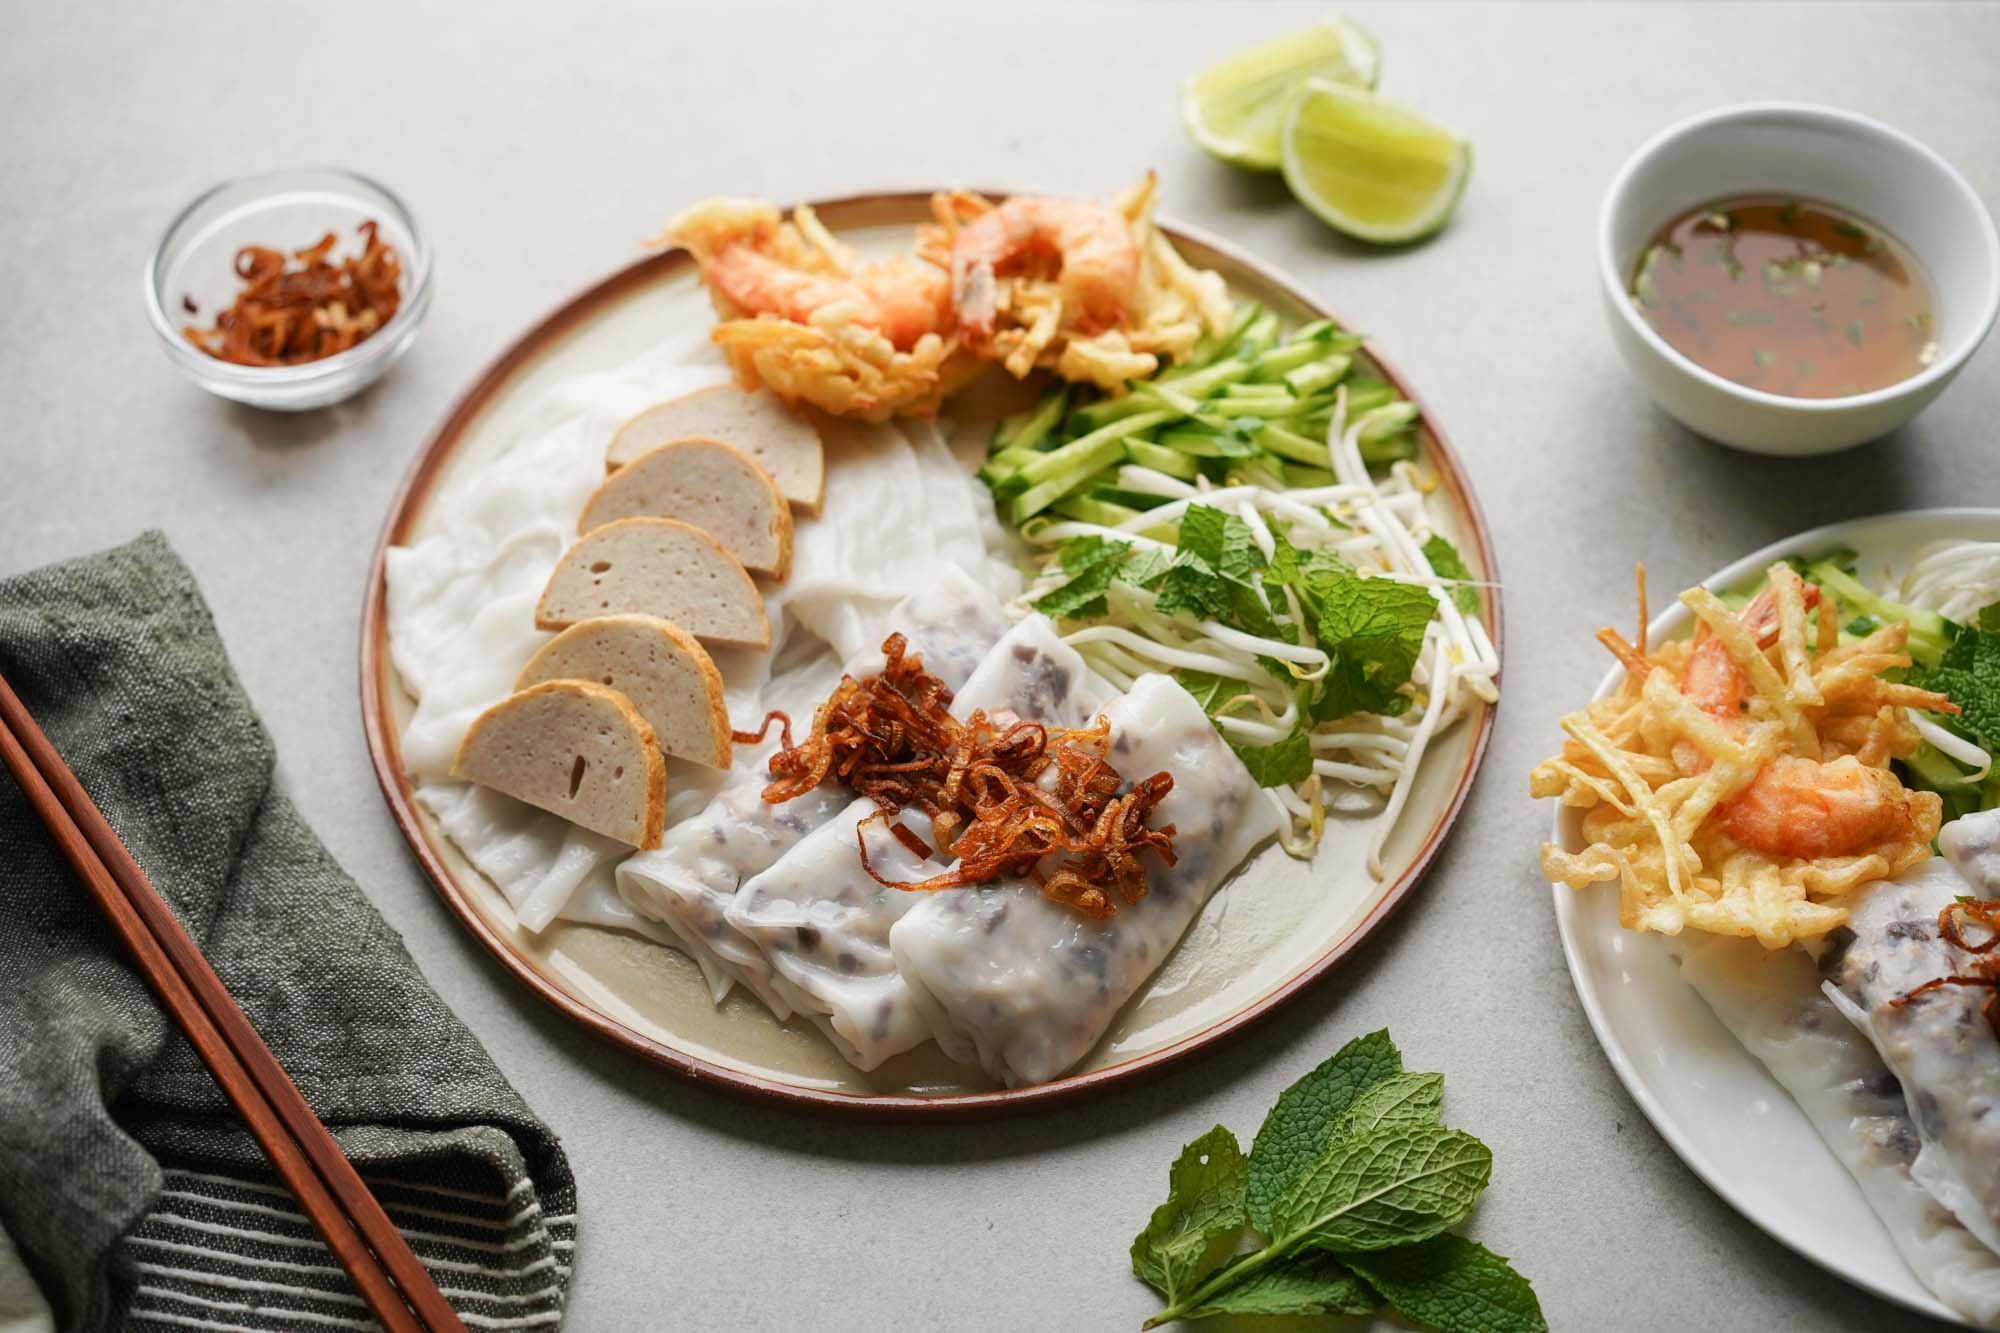
# Rice Flour – How to Create Rice Flour at Home for Snack Preparation
Rice flour, referred to as *biyyam pindi* in Telugu, is a fundamental component in South Indian culinary practices. Its adaptability and gluten-free characteristic render it a favored option for diverse dishes, especially snacks and traditional delicacies. In this article, we will delve into the process of making rice flour at home, along with some scrumptious snack suggestions you can prepare using this vital ingredient.
## What is Rice Flour Utilized For?
Rice flour is employed to make an assortment of snacks known as *pindi vantalu*, such as:
– **Murukku**: A crispy, spiral-shaped snack made with rice flour and spices.
– **Jantikalu**: A crunchy snack often seasoned with spices.
– **Palakayalu**: A savory, crispy rice-based treat.
Beyond snacks, rice flour is also incorporated in various traditional offerings or *prasadam*, including:
– **Kudumulu**: Steamed rice dumplings typically presented during festivals.
– **Undrallu**: Another variant of steamed dumplings made with rice flour.
– **Appalu**: Sweet rice flour pancakes generally prepared with jaggery.
– **Ammini Kozhukattai**: Small, savory rice balls that are a commonly enjoyed festive dish.
With an increasing interest in crafting homemade snacks, many have sought advice on making rice flour from scratch. Here’s a detailed guide to assist you in producing your own rice flour at home.
## How to Create Rice Flour at Home
### Ingredients Required
– Raw white rice (like Sona Masuri or any high-quality variety)
– Water for soaking
### Step-by-Step Instructions
1. **Soak the Rice**: Begin by measuring the desired quantity of raw rice. For optimal results, soak the rice in water for at least one hour, although soaking for 2 to 3 hours is advisable for a finer flour.
2. **Drain and Dry**: After soaking, drain the rice and spread it on a clean cotton cloth. To dry the rice, keep it in the shade until it is nearly dry but still retains some moisture. This step aids in the grinding process. A practical method is to place a newspaper on the floor, cover it with a cotton cloth, and arrange the drained rice in a thin layer.
3. **Grinding the Rice**: Once the rice is sufficiently dried, transfer it to a mixer grinder. Grind the rice until it achieves a fine flour consistency. You may need to do this in batches based on the quantity of rice you are using.
4. **Sifting the Flour**: Post grinding, sift the rice flour through a fine sieve to remove any coarse particles. The remaining residue can be further ground to attain a smoother texture or used in recipes requiring coarsely ground rice, known as rice rava.
5. **Storage**: Keep the freshly made rice flour in an airtight container in a cool, dry area. It can be utilized in various recipes for weeks.
### Creating Larger Quantities
If you intend to produce a larger amount of rice flour (over 1 kg), consider taking the soaked and dried rice to a local flour mill. They can grind it for you, ensuring a fine texture appropriate for all your culinary needs.
## Conclusion
Crafting rice flour at home is a simple process that enables you to enjoy fresh, gluten-free flour for your preferred snacks and traditional dishes. With just a few straightforward steps, you can create a versatile ingredient that enhances your cooking. Whether you’re whipping up festive offerings or everyday snacks, homemade rice flour is an indispensable addition to your kitchen. So, gather some rice, follow the instructions, and get ready to prepare delectable treats that your family and friends will adore!