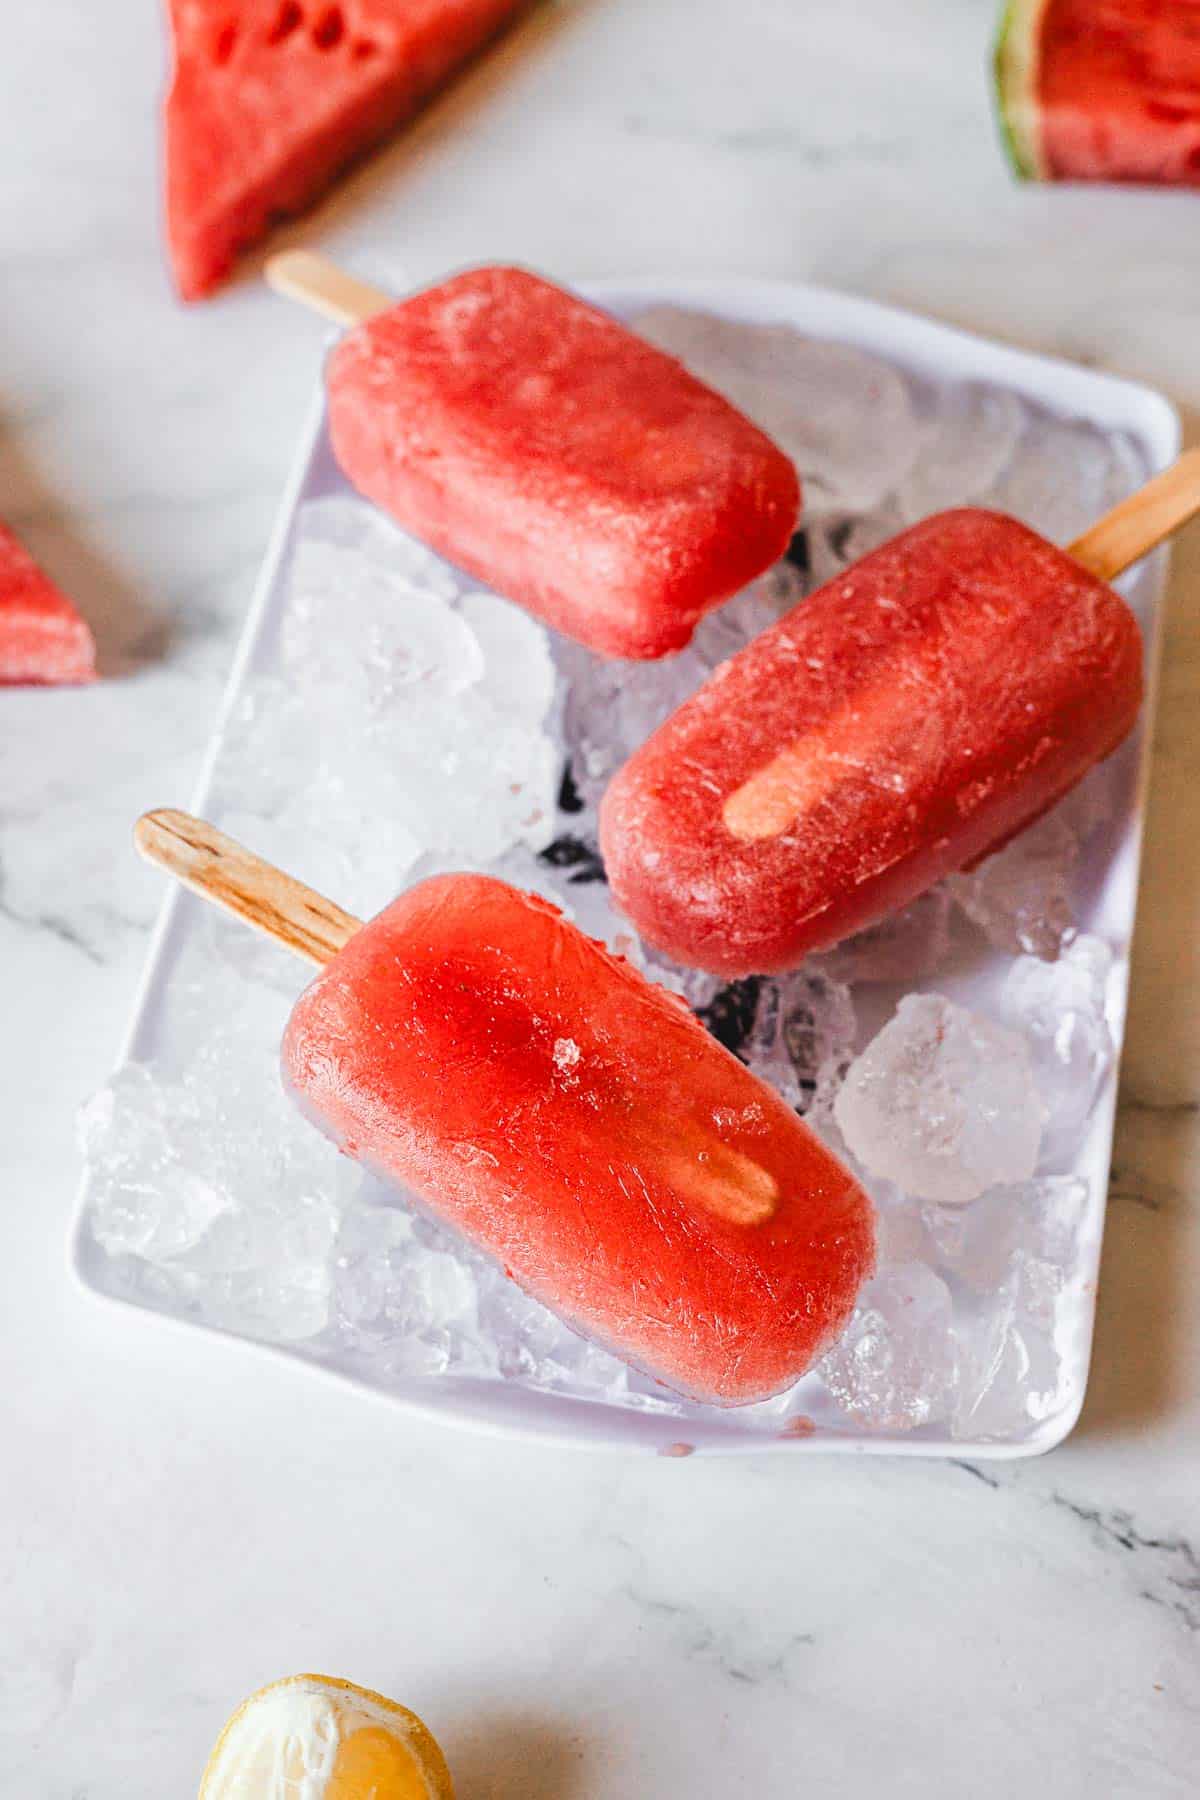
**Who can determine when a popsicle qualifies as a popsicle?** Just to clarify: these watermelon popsicles are frozen chunks of watermelon on sticks. (Or not on sticks—you can freeze slices or wedges and utilize the rind for a good hold.) I attempted to create watermelon popsicles in molds, and I honestly favor the texture and taste of these uncomplicated pops.
**These watermelon popsicles are invigorating, straightforward, fruity summertime snacks.** Here are several more reasons to whip up these watermelon treats:
– They’re the simplest popsicles I’ve ever prepared, needing just one ingredient and precise slicing.
– They’re an excellent method to use up extra watermelon. Watermelons can be quite large.
– They’re less messy for young children to enjoy than fresh watermelon (watermelon juice stains are surprisingly hard to eliminate from fabric). Adults will appreciate them as well, maybe even more with a dash of lime juice or a sprinkle of chili-lime seasoning.
**Not to forget, how adorable are the cookie-cutter designs?** The star shape would be delightful for Independence Day celebrations or summer birthdays. I’m already planning to prepare these for Grace’s birthday event. You’ll discover a photo guide and recipe below.
## How to Prepare Watermelon Popsicles
**First, determine if you prefer cookie-cutter shapes, wedges, or slices.** Here are your options:
– **Cookie-cutter shapes are entertaining.** To create them, you’ll require cookie cutters and popsicle sticks. This technique results in some leftover scraps, and you’ll find suggestions for utilizing them in the following section.
– **Wedges are simple to hold.**
– **Slices remind me of classic popsicle mold shapes.** You can even grate the frozen slices on a large box grater for *watermelon shaved ice!*
**Cut your watermelon accordingly.** Locate a rimmed baking sheet or tray that will fit in your freezer space, and line it with parchment paper to prevent sticking. Position each popsicle on the paper with a bit of space; you can stack additional pieces of parchment paper and popsicles on top.
**Freeze until solid (approximately four hours),** then enjoy or transfer them to a freezer bag to protect against freezer burn.
## Tips for Selecting Watermelon
**Your popsicles will be as tasty and sweet as the watermelon you choose,** so find a quality one. Sugar Baby watermelons are my preferred kind, but any delicious watermelon will suffice.
When selecting a watermelon, look for one that is:
– Heavy for its size
– Dull, not glossy
– Symmetrically shaped
– Darker green, with a yellow to orange “field spot” indicating it has ripened sufficiently on the vine (the more vibrant the yellow-orange color, the better)
## Ways to Use Leftover Watermelon
If you transform your whole watermelon into frozen wedges or slices, you won’t have any leftovers to deal with. If you create cookie-cutter-shaped popsicles, you’ll have some leftover scraps of watermelon.
If you only plan to convert part of a large watermelon into popsicles, here are some ideas for the leftovers:
## More Popsicles and Frozen Delights
If you like this recipe, give one of these a try next:
**Feel free to share your thoughts on your frozen watermelon in the comments.** It’s such a simple and light summertime delicacy!
## Watermelon Popsicles
Frozen watermelon is the ideal icy summer delight! Make these watermelon popsicles and enjoy them throughout the summer. The number you make depends on the size of your watermelon; create as many or as few popsicles as you desire.
1. Using a sharp chef’s knife, remove the stem end and the opposite end. Rotate the watermelon so that it stands upright on a flat side. Cut it in half down the center. Place one half against the cutting board with the flat side down.
2. For cookie-cutter shapes, slice across the watermelon to produce ½-inch thick slabs. Press the cookie cutter down to form shapes. Repeat with the remaining watermelon half. Insert popsicle sticks about ¾-inch deep into the center of each shape’s base.
3. For wedges, slice lengthwise down the middle for large wedges or create smaller wedges by slicing lengthwise one-third of the way from each side, meeting in the center. Then cut across the watermelon multiple times to create ½-inch wide wedges. Repeat with the remaining watermelon half.
4. For long strips, slice lengthwise along the watermelon to create about 4 to 5 equal segments, and then slice across those segments to form ½-inch wide strips.
5. Find a tray or baking dish that fits in your freezer. Line it with parchment paper and arrange the watermelon in a single layer, leaving gaps between each to prevent sticking together. If additional space is needed, add another layer of parchment paper on top to create another layer. Freeze until solid, around 4 hours.