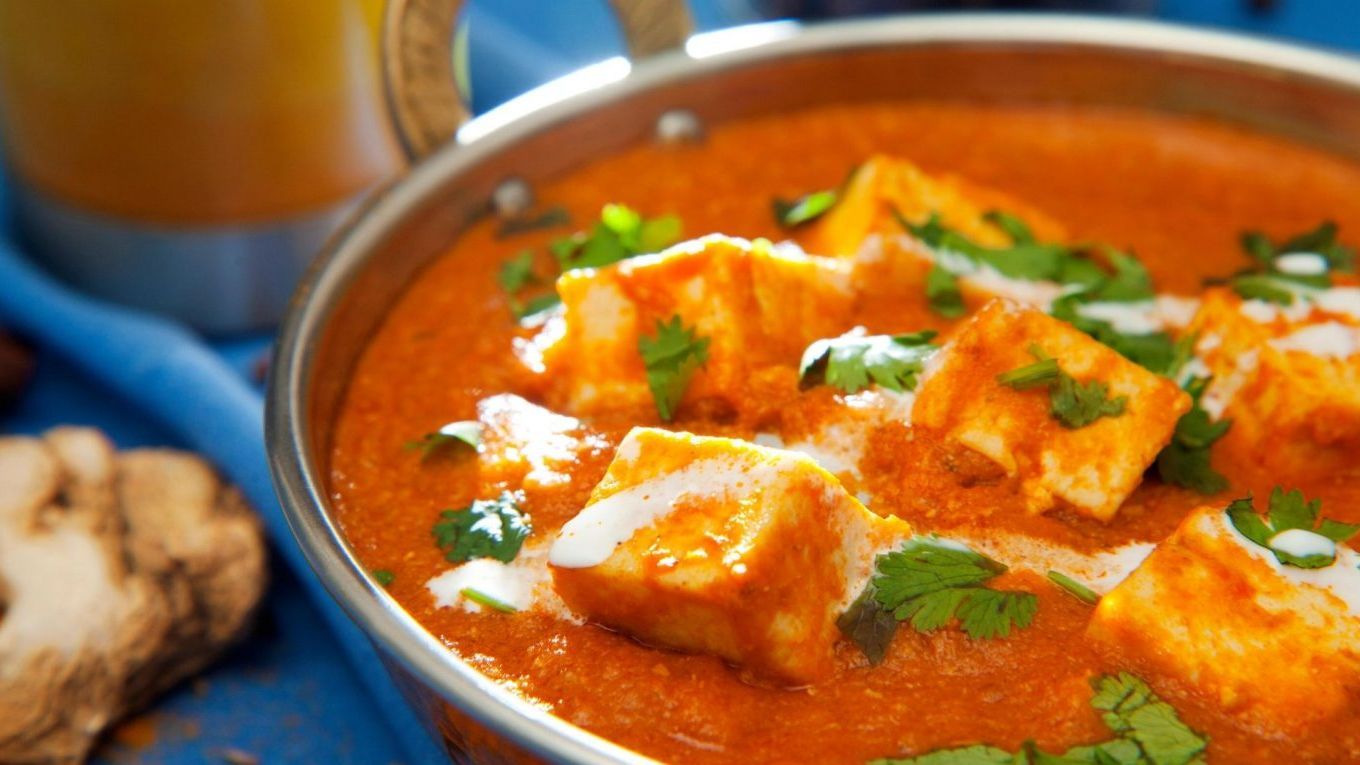

# Paneer Recipe – How to Prepare Fresh and Soft Paneer at Home
Paneer, a fundamental component of Indian cooking, is an unsalted white cheese that contributes creaminess and consistency to numerous recipes. Crafting paneer at home is not only easy but also guarantees the availability of fresh and tender cheese, often superior to commercial options. This article outlines a detailed process for creating homemade paneer.
## Ingredients
– 1 liter of full-fat milk
– 2-3 tablespoons of yogurt (curd) or lemon juice
– Ice cubes (optional)
– A pinch of salt (optional)
## Equipment Required
– Heavy-bottomed pot
– Muslin cloth or fine strainer
– Heavy weight (like a pot filled with water)
– Bowl for draining
## Step-by-Step Directions
### Step 1: Boil the Milk
Pour the full-fat milk into a heavy-bottomed pot and heat it until it boils over medium heat. Stir occasionally to avoid it sticking to the bottom.
### Step 2: Curdle the Milk
When the milk reaches a vigorous boil, lower the heat and gradually add the yogurt or lemon juice while gently stirring. You should see the milk beginning to curdle, separating into curds (chenna) and whey. If the milk doesn’t curdle completely, add a bit more yogurt or lemon juice.
### Step 3: Cease Cooking
After the curds have formed, take the pot off the heat. To halt the cooking, you may add a few ice cubes to the mixture. This aids in keeping the paneer soft.
### Step 4: Drain the Curds
Line a bowl with a muslin cloth or fine strainer. Pour the curdled milk into the cloth to separate the curds from the whey. Rinse the curds under cold water to eliminate any residual acidity from the yogurt or lemon juice.
### Step 5: Extract Excess Liquid
Gather the corners of the muslin cloth and twist it to expel excess liquid. Be cautious not to press too hard, as retaining some moisture is essential for a softer paneer.
### Step 6: Form the Paneer
Once the extra liquid is drained, place the wrapped curds on a flat surface. Apply a heavy weight on top to aid in setting. For softer paneer, leave it for about 10-15 minutes. For firmer paneer, allow it to sit for 30-45 minutes.
### Step 7: Unwrap and Store
After the desired setting time has passed, unwrap the paneer. You may cut it into cubes or any desired shape. Store the paneer in an airtight container in the refrigerator. It can be used right away or within a few days.
## Tips for Achieving Soft Paneer
– **Use Full-Fat Milk:** The richer the milk, the softer the paneer.
– **Curdling Agent:** Yogurt produces softer paneer compared to lemon juice or vinegar.
– **Add Flavors:** You can enhance the taste by incorporating herbs or spices during the curdling, such as mint, coriander, or cumin seeds.
## Conclusion
Making paneer at home is a fulfilling endeavor that elevates the taste of your dishes. With this straightforward recipe, you can relish fresh, tender paneer that enhances your culinary creations. Whether cooking paneer butter masala or paneer paratha, homemade paneer will significantly improve flavor and texture.