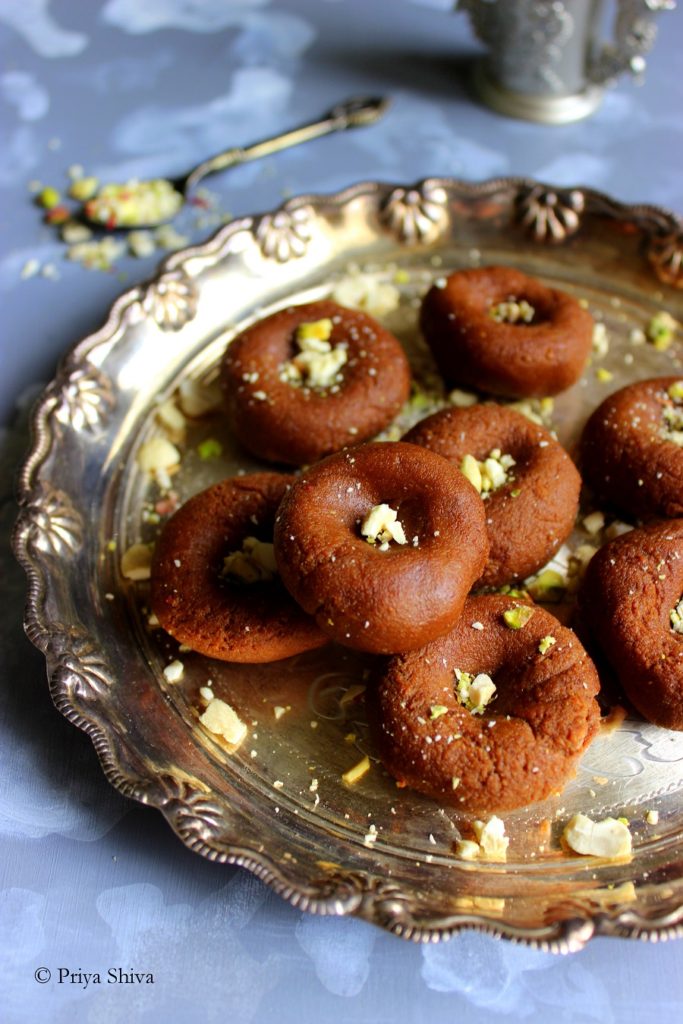

# How to Prepare Khoya at Home: An Unflavored Khoya Recipe
Khoya, which is also called mawa, is an essential element in Indian cooking, especially in confections and desserts. Although the process of making khoya might appear intimidating, it is quite simple and only requires one ingredient: full-fat milk. This article will walk you through the method of preparing unsweetened khoya at home, along with valuable tips and information on its various forms and applications.
## Grasping Khoya
Khoya is fundamentally made from concentrated milk solids that are produced by gently simmering milk on low heat until the majority of the moisture has evaporated. The term “khoya” has different names in various parts of India; for example, it is known as “kova” in Telugu and Tamil, while in Hindi, particularly in regions like Rajasthan, it is commonly referred to as mawa.
### Varieties of Khoya
Khoya can be categorized into three primary textures, each with distinct moisture levels:
1. **Chikna (Dhapa)**: This is the softest variant of khoya, characterized by a loose texture and the highest moisture content. It is frequently utilized in desserts such as **gulab jamun** and **rabri**.
2. **Danedar**: This variant has a slightly denser texture and a grainy look. It is typically found in Indian sweets like **kalakand** and **milk cake**.
3. **Pindi**: The firmest variant of khoya, which lacks moisture entirely. It is generally formed into small blocks and is often used for making **burfi** and **laddu**.
## Ingredients
– **Full-fat milk**: 1 liter
## Required Equipment
– Heavy-bottomed pan or kadhai
– Wooden spatula
– Measuring cup
## Step-by-Step Khoya Preparation
### Step 1: Heat the Milk
1. Pour 1 liter of full-fat milk into a heavy-bottomed pan.
2. Set the pan on medium heat and allow the milk to come to a boil, stirring from time to time to prevent it from adhering to the bottom.
### Step 2: Simmer the Milk
1. When the milk reaches a boiling point, lower the heat.
2. Keep cooking the milk while stirring frequently. This part of the process will take around 2 hours, so be patient.
### Step 3: Concentrate the Milk
1. As the milk continues to simmer, it will begin to thicken. Stir regularly to ensure consistent cooking and avoid burning.
2. You will observe a decrease in the milk’s volume as it transforms into a thick mass.
### Step 4: Assess for Completion
1. The khoya is done when it achieves a crumbly consistency and most of the moisture has disappeared. It should strike a balance between being too dry or too wet.
2. Take the pan off the heat and allow the khoya to cool.
### Step 5: Preserve the Khoya
1. After it has cooled down, place the khoya into an airtight container.
2. It can be stored in the refrigerator for up to a week. If you wish to keep it longer, you might consider freezing it.
## Yield and Measurements
From 1 liter of milk, you can expect to obtain around 230 to 250 grams of khoya. For reference, 1 cup of khoya weighs approximately 200 to 225 grams.
## Applications of Khoya
Khoya is extremely adaptable and acts as a foundation for a range of Indian sweets, including:
– **Palkova**
– **Khoya Peda**
– **Khoya Burfi**
– **Khoya Gulab Jamun**
– **Khoya Jalebi**
– **Khoya Gajar ka Halwa**
– **Khoya Naan** (in savory dishes)
The options are limitless, and khoya is also usable in savory recipes, making it a significant component in Indian gastronomy.
## Final Thoughts
Creating khoya at home is a fulfilling journey that not only lets you savor fresh, unsweetened khoya but also saves you money compared to purchasing it pre-made. With just a bit of patience and the right method, you can produce this crucial ingredient that elevates the taste and richness of countless Indian recipes. So, roll up your sleeves and take on this khoya recipe!