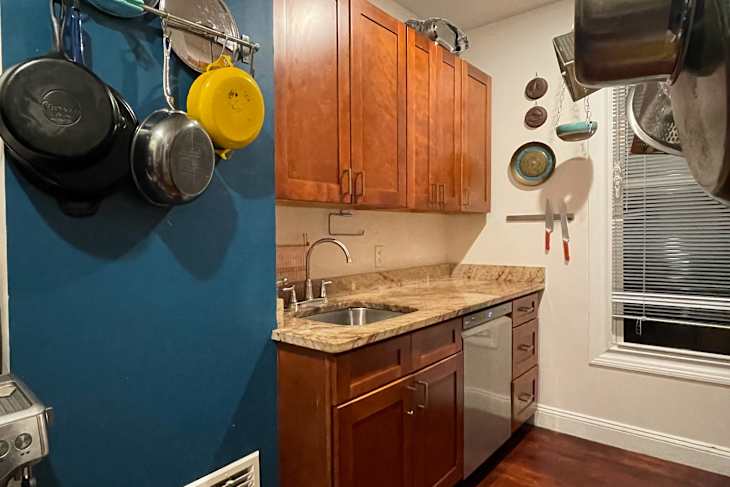
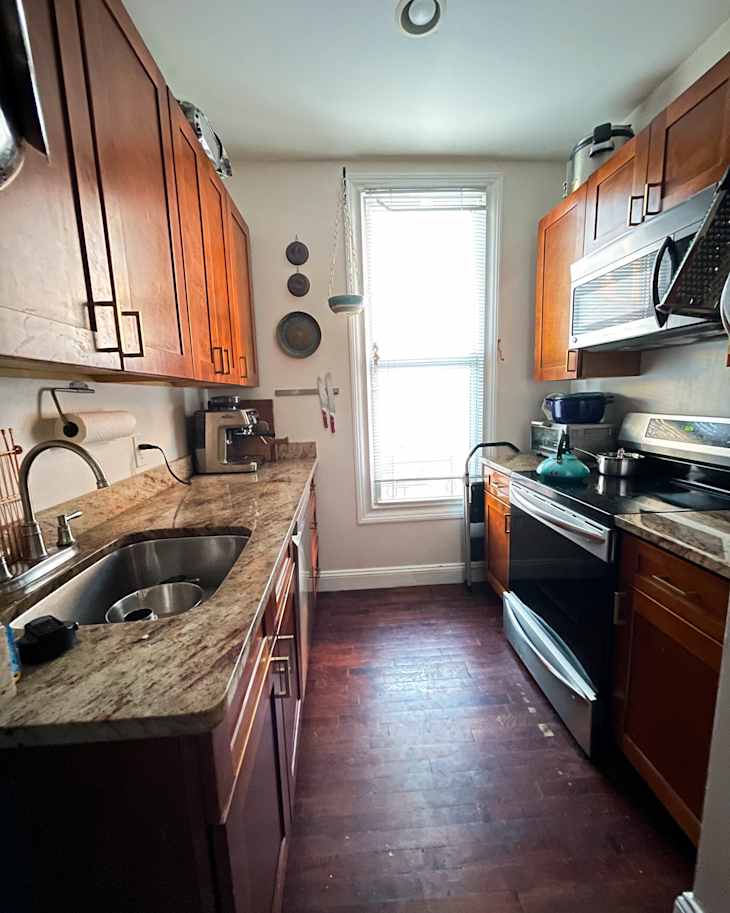
But this year, after seeing several rich wood finishes making a chic comeback in kitchens, I decided to take a different approach and asked myself: Do I hate my cabinets, or just how they interact with everything around them?
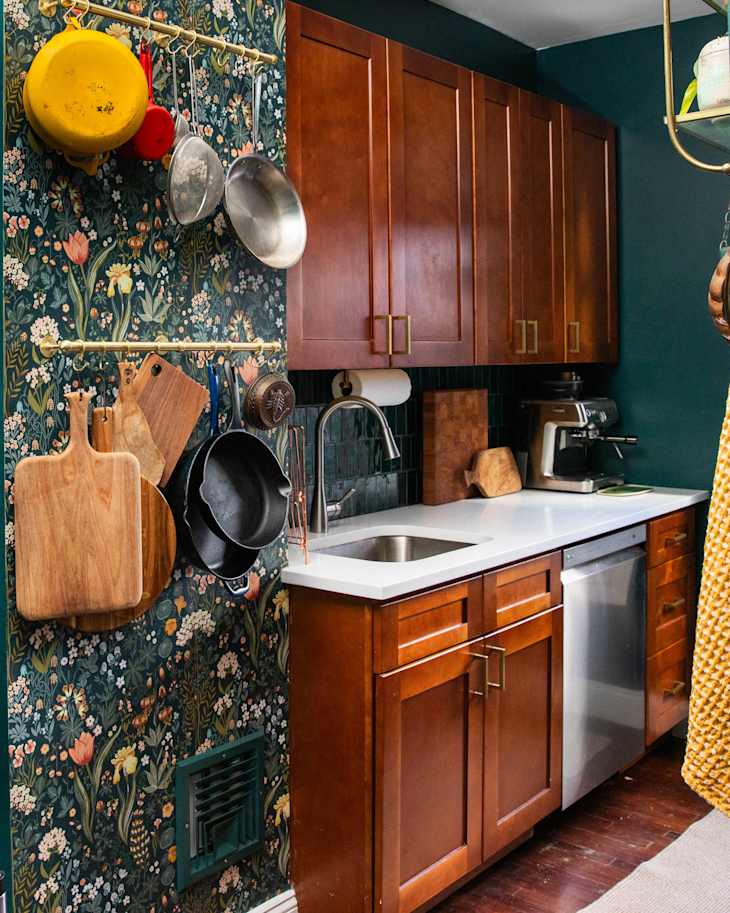
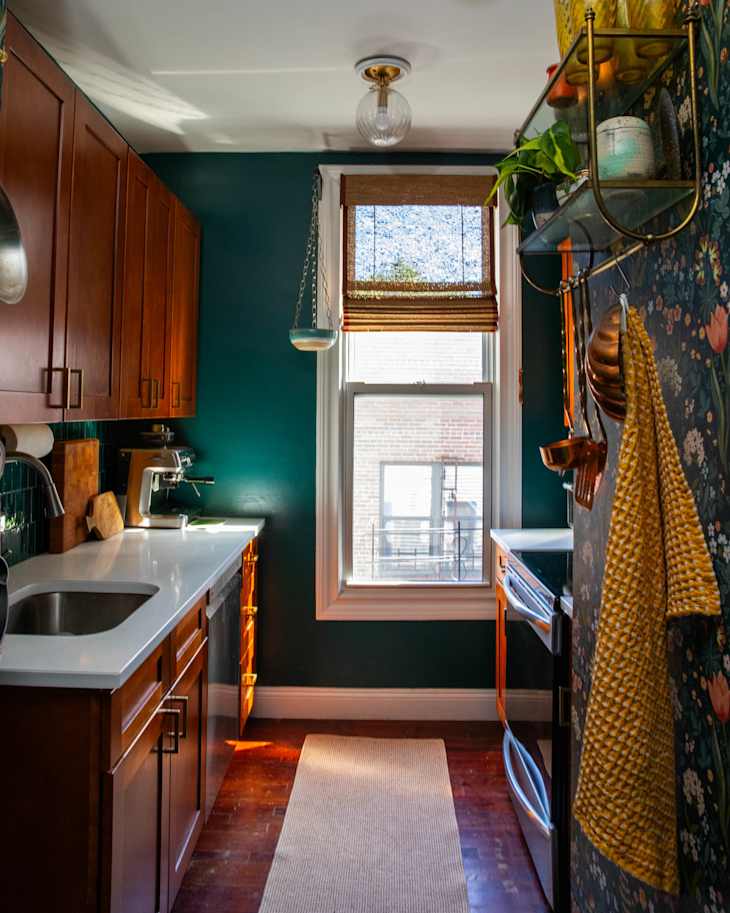
After doing a lot of mockups using various tile and countertop sites — plus my trusty Photoshop skills — I realized I could embrace the wood cabinets and balance the wood with deep greens, bright whites, and floral accents in a DIY kitchen makeover.
Although the cabinets could stay, the granite had to go.
First, I used the design tool on The Home Depot’s website to order new simple white quartz countertops. I wanted something that looked sleek and clean with no veining. The process was relatively painless.
Just beware if you live in a third-floor walk-up like I do: You will get charged some extra carry fees! Be sure to ask about this upfront. My countertop crew also offered a removal service for an extra fee, and it was worth it for me to not have to worry about it. (And they did it faster than quoted!) This was definitely the biggest cost of the reno, but so worth it. Just by switching the countertops, the space immediately felt brighter and more modern.

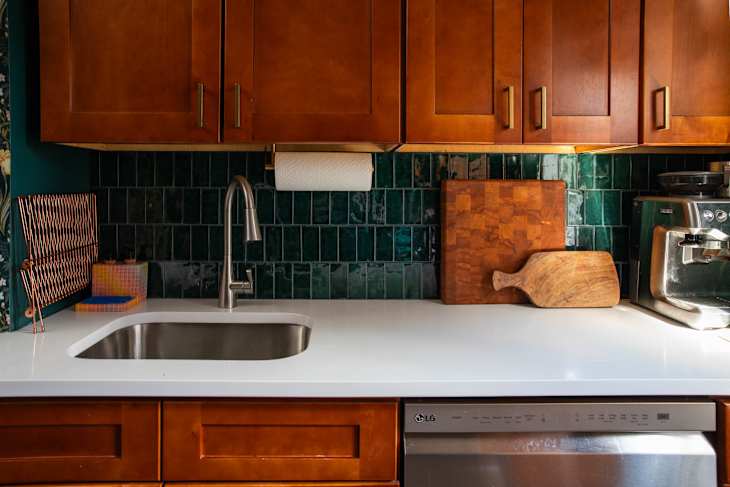
I installed green zellige tiles.
Once the countertops were installed, I could get a better sense of what tiles might work. I never had a backsplash, so luckily I didn’t have to deal with removing anything. I knew I wanted a dark green, but not too green, and I landed on a zellige-inspired tile with some variation in its tonality.
I’d never tiled anything before, but my father had and was willing to give me a hand; the install for both walls of my galley kitchen took us about three days to complete.
The calculations to plan the layout, especially around the outlets or odd corners, took a little bit of trial and error for us. We also took the cabinets down in order to raise them by about half an inch so we could avoid having to cut the top layer of tiles to fit. We found that cutting a few tiles to fit around the outlets was fine, but we’d rather rehang the cabinets than have to cut 100+ more tiles.
After (too) much deliberation, I chose a dark charcoal grout to let the tiles stand on their own. Grouting was probably my least favorite part of this process. It was messy, and getting the texture right took a little futzing.
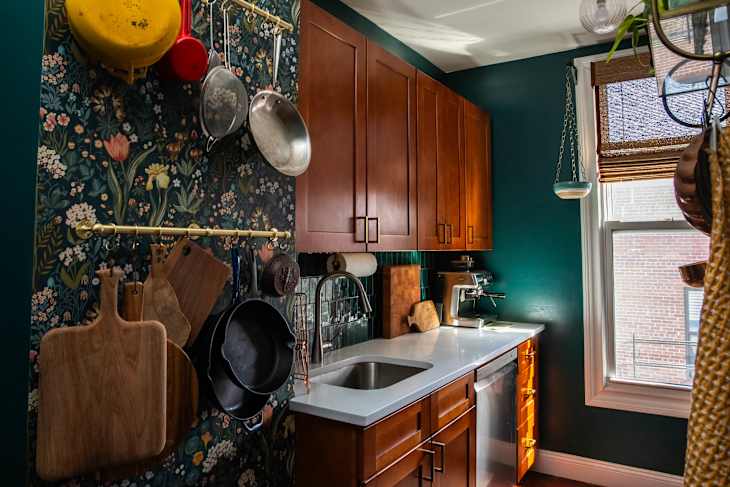
The walls got green paint and wallpaper.
I actually thought I was buying a peel-and-stick wallpaper, but it turns out I didn’t read closely, and it was the real thing! I think in the end this was probably better, so I was able to add learning how to DIY wallpaper to my skill set! Much like with the tile process, a laser level was super helpful for keeping everything aligned here.
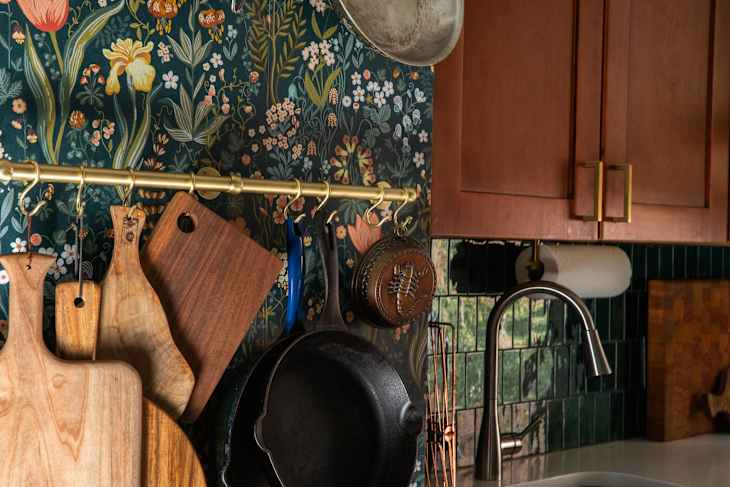
I added brass hardware and natural textiles.
I found a few affordable faux brass pot rails and was pleasantly surprised at the quality and stability of the sliding hooks. (They slide on before the pole goes up, so they won’t randomly fall off when you grab a pot.) I also liked how far the rack came off the wall, so my pots and pans don’t scratch up wallpaper handiwork.
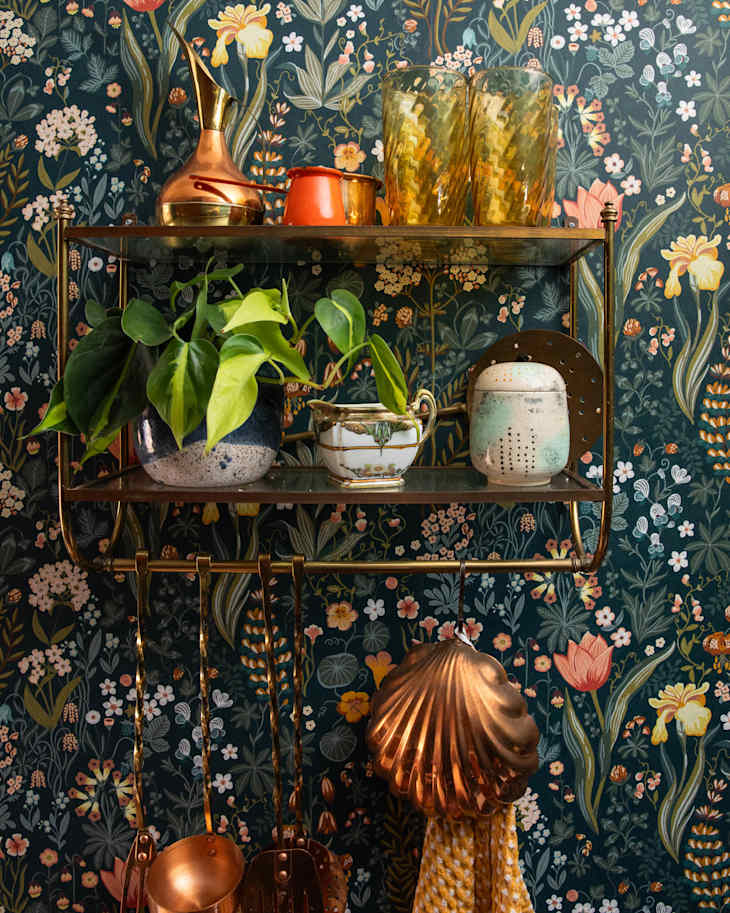
On the opposite wall, I installed a vintage brass and glass shelf I found at a flea market to showcase my favorite vintage kitchen finds.
I changed out all the boring white outlet covers for brass ones and painted a heating vent the same color as the wall so it blended in nicely with the wallpaper, and I went with some natural-materials textiles, like a washable jute runner and woven wood shades, for the room accents.
Lastly, I made lighting upgrades.
I used a converter kit to turn my recessed lighting cans into a few glass pendant lights for some mood lighting. (Add electrician to my resume!) The installation was a little harder than I thought it’d be; drilling the holes in the metal cans requires a lot of elbow grease and strength and the right tools.
But I’m so smitten with my kitchen now! My favorite part is how rich and moody it looks while still giving a sense of whimsy and vibrancy.
Inspired? Submit your own project here.