# Celebrate Any Special Event with Perfectly Sized Mini Cakes
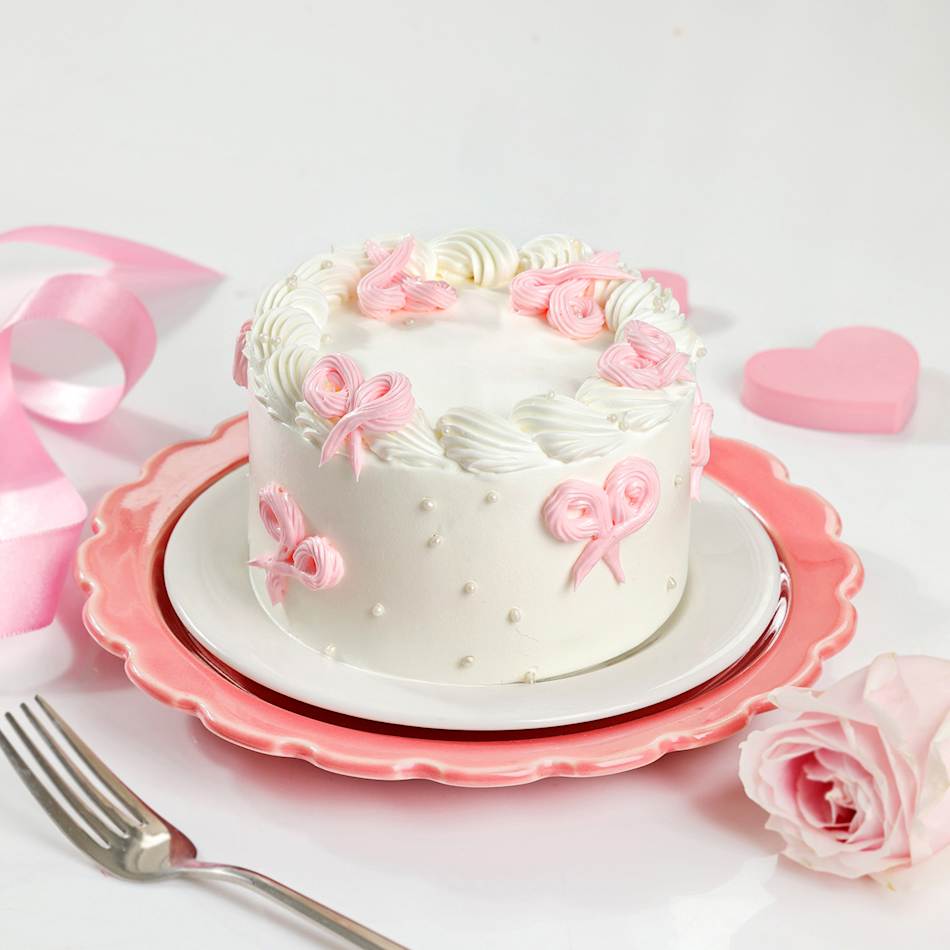
If you’re seeking to commemorate a special event without the obligation of a massive cake, mini cakes are the ideal option. These individual soft, fluffy delights are adorned with silky smooth buttercream, making them an appealing and tasty treat for any gathering.
## Why Opt for Mini Cakes?
Mini cakes provide a charming way to relish dessert without hefty servings. They are ideal for gatherings, weddings, or any celebration where you want to offer a sweet indulgence without the hassle of cutting and serving a bigger cake. Their petite size makes them simple to handle and enjoy, enabling guests to indulge without any remorse.
## Recipe Ingredients
To whip up these charming mini cakes, you will require:
– **Vanilla Extract**: For that quintessential vanilla flavor.
– **Milk**: To enhance the cake’s moisture.
For a detailed list of ingredients and their quantities, refer to the recipe card below.
## How to Prepare Mini Cakes
### Step 1: Preheat the Oven
Set your oven to 350 degrees Fahrenheit and liberally grease a 13×18 inch baking pan. Set it aside.
### Step 2: Cream Butter and Sugar
In a large bowl or stand mixer, blend the butter and sugar together until light and fluffy.
### Step 3: Add Vanilla and Eggs
Next, incorporate the pure vanilla extract and large eggs into the mixture, stirring until well combined.
### Step 4: Combine Dry Ingredients
In a separate medium bowl, mix the flour, baking powder, and salt together.
### Step 5: Mix Wet and Dry Ingredients
Combine the dry ingredients with the wet mixture along with the milk, stirring until blended.
### Step 6: Bake the Cake
Transfer the batter into your prepared baking sheet and bake for 18-20 minutes, or until a toothpick inserted comes out clean. Let the cake cool completely.
### Step 7: Prepare the Frosting
As the cake cools, make the frosting. Mix all frosting components in a bowl and beat until fluffy. Adjust the consistency with more heavy cream or powdered sugar as necessary.
### Step 8: Cut the Cake
Once cooled, utilize a 3-inch round cutter to slice the cake into small rounds, producing 12-15 individual circles.
### Step 9: Assemble Mini Cakes
Construct your mini cakes by taking one cake circle and topping it with frosting. Repeat until you have three layers of cake.
### Step 10: Frost the Exterior
Cover the outside of the assembled cake with frosting. Use a piping bag to embellish the top and bottom edges with stars, and sprinkle with rainbow jimmies for an additional celebratory flair.
### Step 11: Serve and Savor
At last, serve your mini cakes and relish the delightful flavors!
## FAQs
**What else can I utilize to adorn these Mini Cakes?**
You can adorn them with edible flowers, festive sprinkles, or even tint the buttercream for a lively appearance.
## Storage Information
You can keep any leftover mini cakes in an airtight container at room temperature for 1-2 days. For extended storage, place them in the fridge for up to 5 days. You can also freeze these cakes by wrapping them in plastic wrap and storing them in an airtight container for up to 2 months.
## More Recipes to Enjoy
If you loved making these mini cakes, consider trying other scrumptious recipes like Crack Cake, French Apple Cake, and Mexican Chocolate Cake. Each presents unique flavors and textures that are guaranteed to impress.
With these mini cakes, you can commemorate any event with flair, providing a sweet treat that is both charming and delicious!