
### Treat Yourself to Homemade Red Velvet Brownies
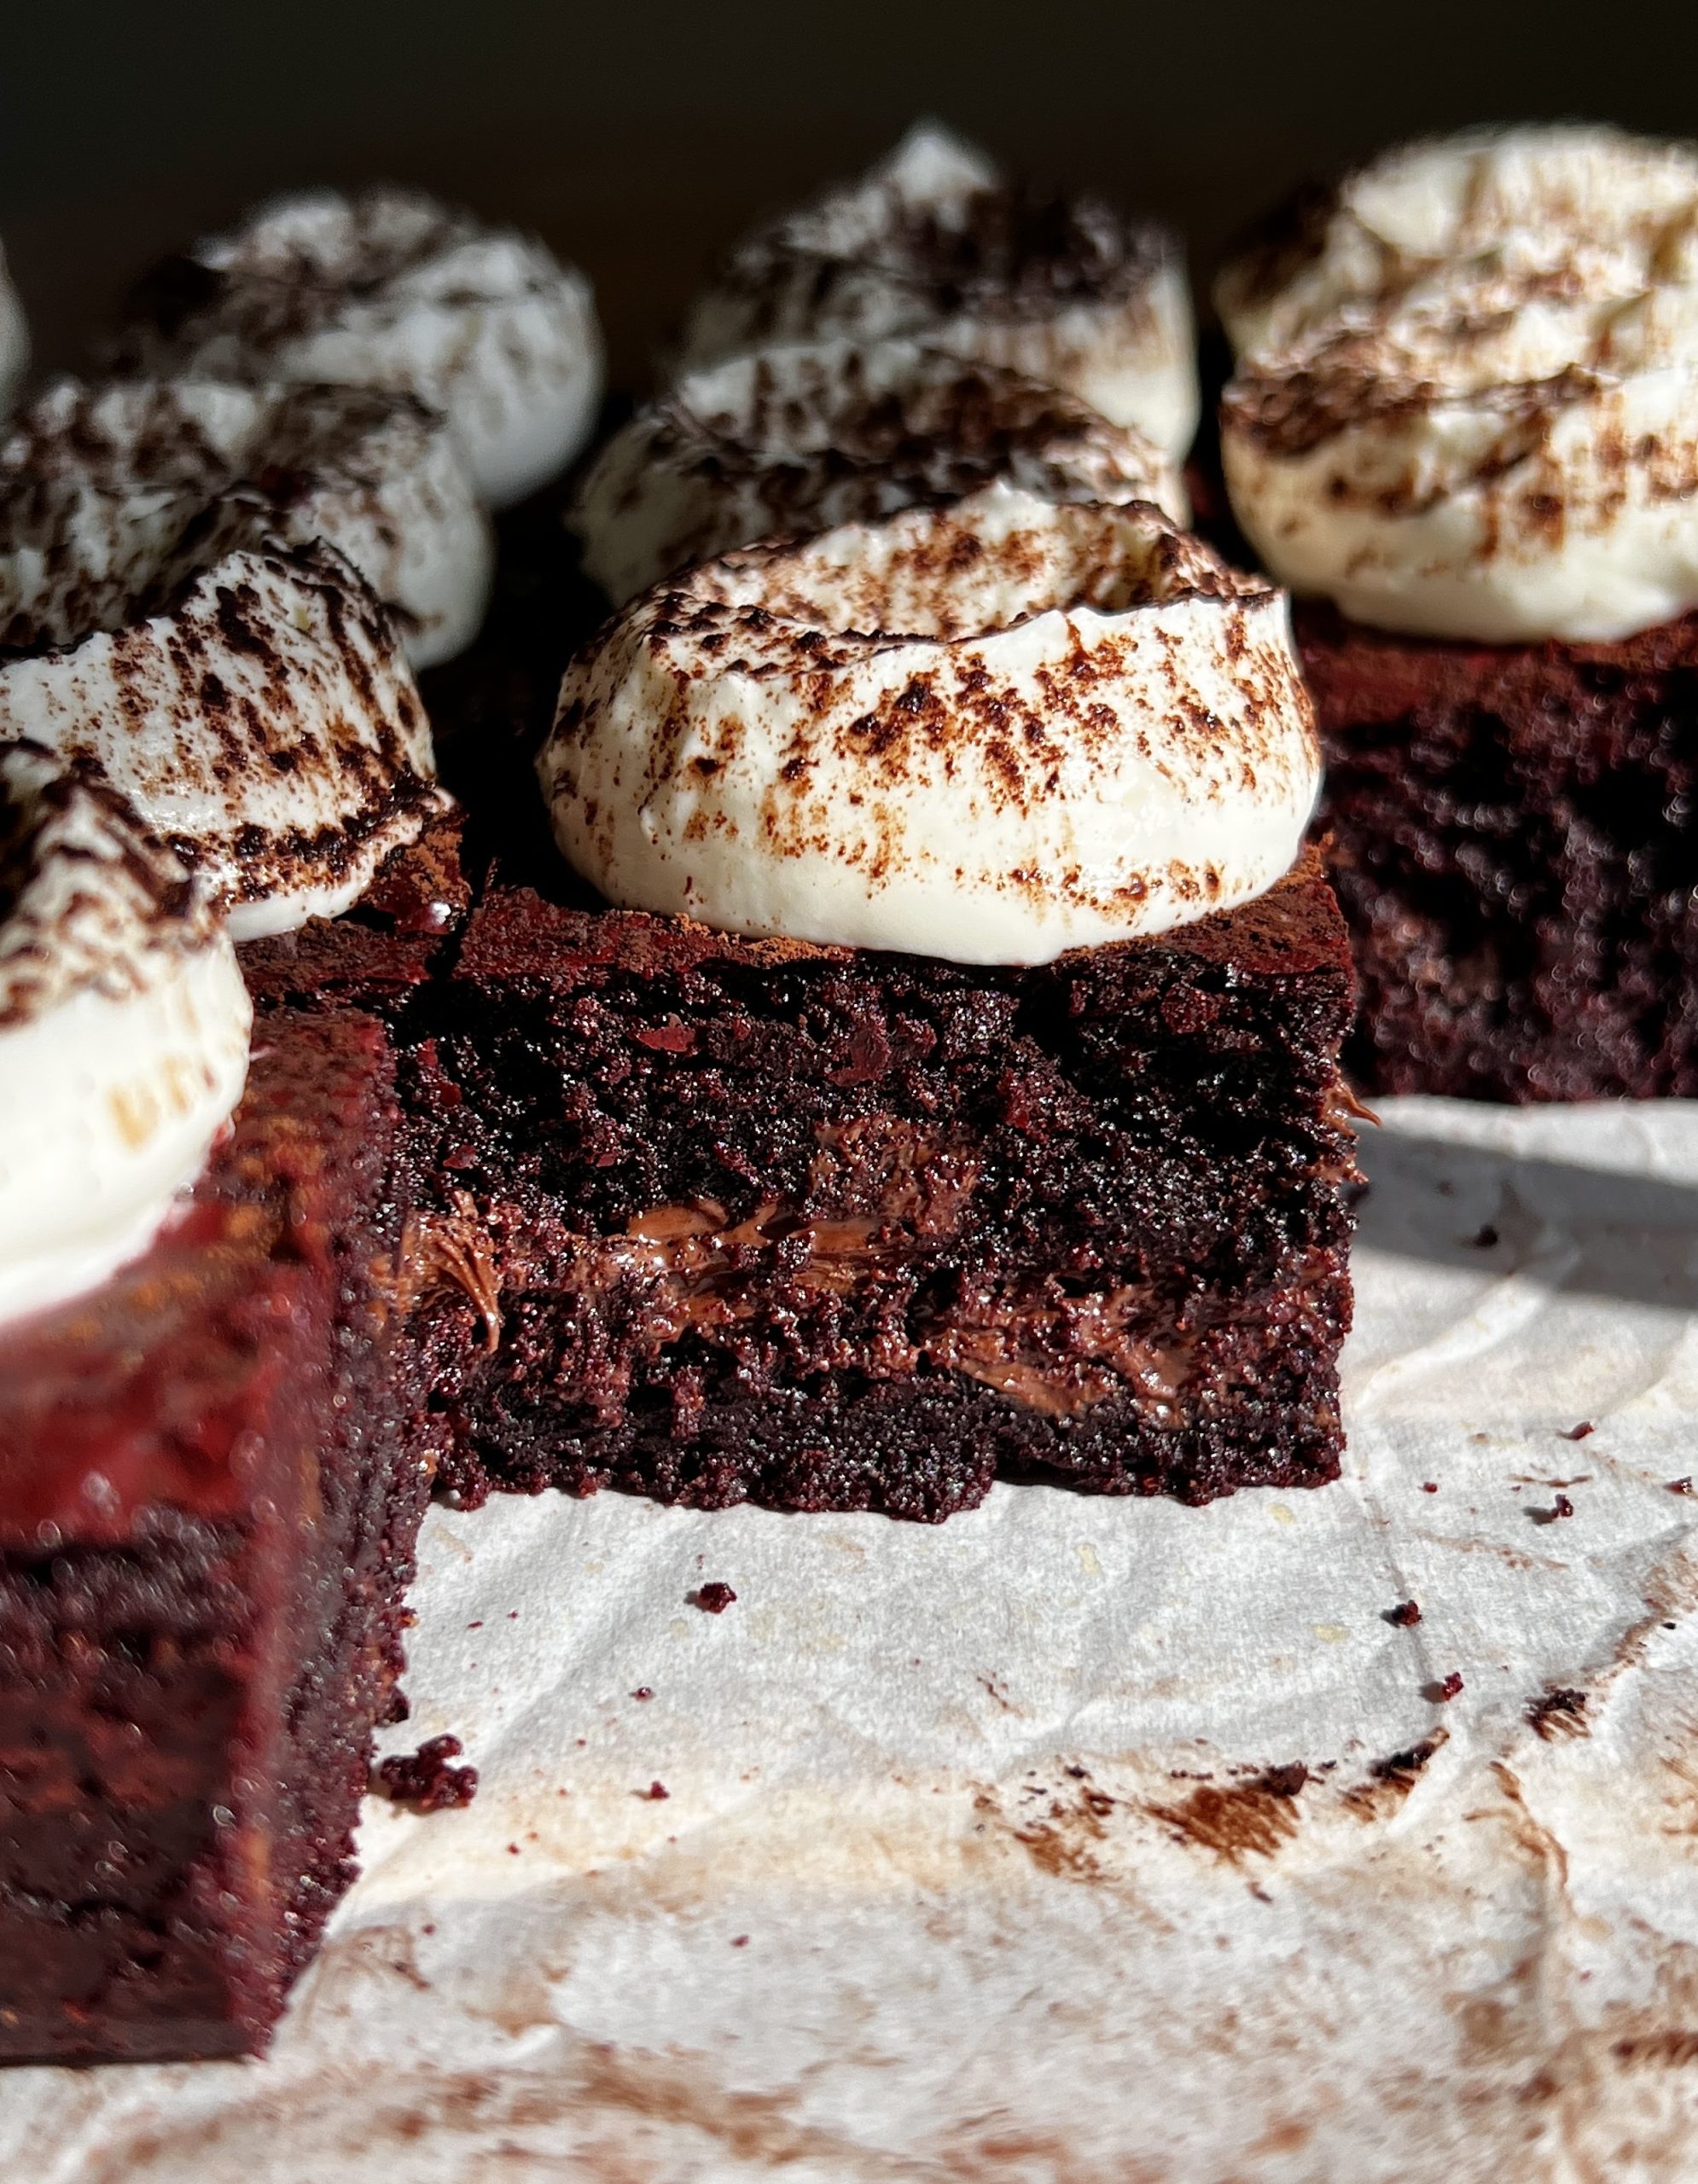
Valentine’s Day is approaching quickly, and nothing expresses “I love you” like a homemade batch of vibrant Red Velvet Brownies! These brownies are not just a seasonal delight for the occasion; they are tasty any time of the year. With their soft, chewy consistency and a zesty cream cheese frosting, they are guaranteed to please anyone who takes a bite.
#### Ingredients for the Recipe
– **Red Food Coloring**: To achieve that eye-catching red hue in these brownies.
– **Cocoa Powder**: For that traditional red velvet essence and flavor.
– **Decorative Sprinkles**: An optional addition that provides a festive touch and extra texture on top of your brownies.
For a comprehensive list of ingredients and their measurements, see the recipe card below.
#### Instructions for Preparing Red Velvet Brownies
**Step #1**: Prepare a 9×9 inch pan with parchment paper and preheat your oven to 335 degrees Fahrenheit.
**Step #2**: In the bowl of a stand mixer or a large mixing bowl with an electric mixer, combine the white sugar, brown sugar, and 6 tablespoons of melted butter. Mix until everything is well incorporated.
**Step #3**: Incorporate the eggs, egg yolk, and 1 teaspoon of vanilla extract. Mix until just combined.
**Step #4**: Fold in the vegetable oil and cocoa powder gently into the mixture.
**Step #5**: Add the red food gel and whisk until blended.
**Step #6**: Next, stir in the flour, cornstarch, and ¼ teaspoon of salt. Mix until there are no lumps left.
**Step #7**: Pour in the vinegar and mix thoroughly.
**Step #8**: Transfer the brownie batter into the prepared baking pan and bake in your oven for 20-25 minutes, or until a toothpick inserted comes out clean.
**Step #9**: Take them out of the oven and let them cool completely before adding the frosting. While the brownies cool, prepare the frosting.
**Step #10**: In a medium mixing bowl, beat the butter and cream cheese together until smooth.
**Step #11**: Gradually add in the powdered sugar until it becomes light and fluffy.
**Step #12**: Then mix in the vanilla until everything is blended.
**Step #13**: Lastly, frost the brownies, sprinkle with toppings, then cut with a sharp knife, serve, and relish!
#### Common Questions
**What other toppings can I use on these homemade red velvet brownies?**
You can opt for white chocolate chips, assorted sprinkles for different holidays, or even some moist crumbs from a brownie slice sprinkled on top.
**Do I have to use red gel food coloring in this red velvet brownie recipe?**
No, you can utilize either gel or liquid food coloring. You may also skip the food coloring entirely, but keep in mind that the brownies won’t be red.
#### Storage Guidelines
Any remaining red velvet brownies can be kept in an airtight container at room temperature for 3-4 days or in the refrigerator for 5-7 days. For freezing, wrap them individually and store them in a freezer-safe bag; they will remain good in your freezer for up to 2 months. To reheat, thaw the brownies until fridge temperature and microwave for a few seconds until warm.
Savor these delightful Red Velvet Brownies, ideal for any celebration!