# How to Create Fresh and Soft Paneer at Home
Paneer, an essential component of Indian gastronomy, is a flexible and delectable ingredient utilized in numerous recipes. Crafting paneer at home is not only straightforward but also guarantees that you have fresh and soft cheese that can enhance your culinary endeavors. This article will walk you through the method of preparing paneer at home, along with suggestions to achieve the ideal texture.
## What is Paneer?
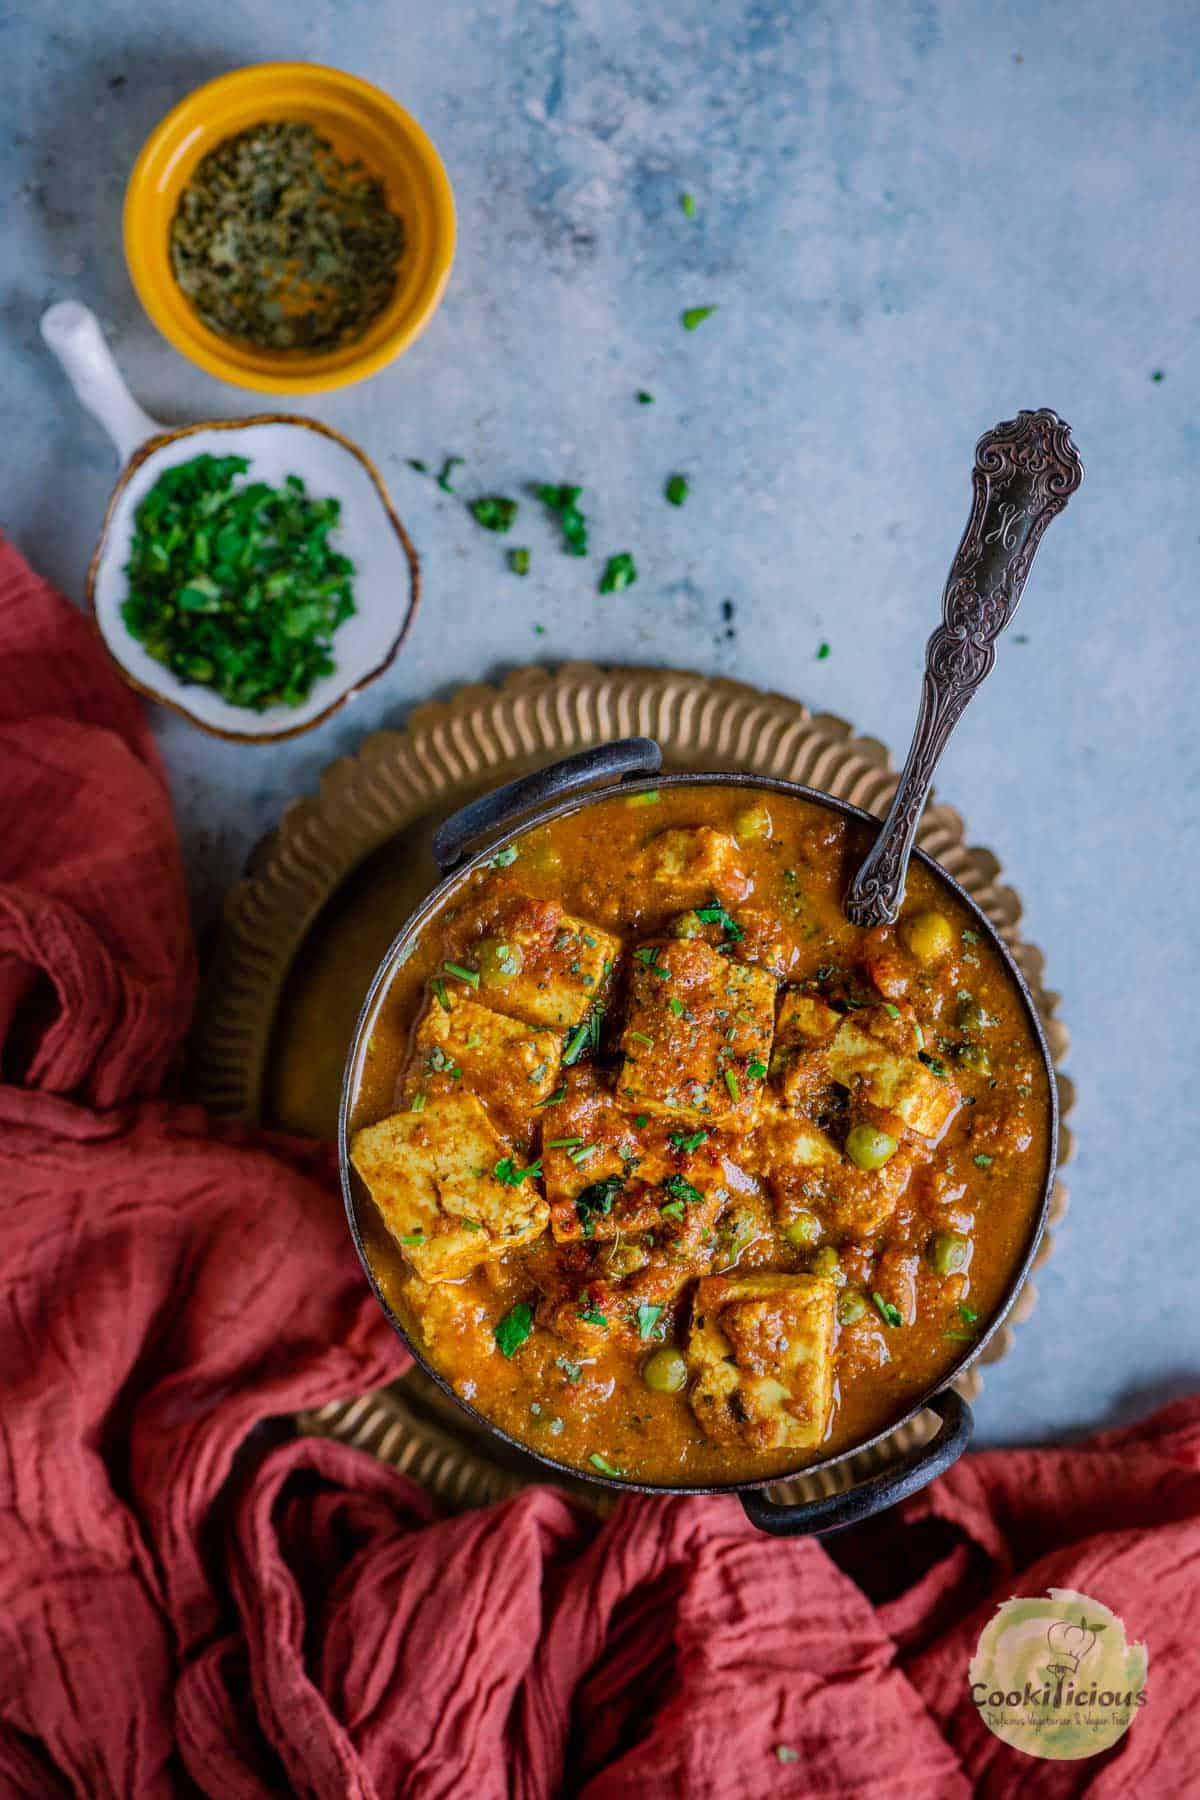
Paneer is an unsalted Indian cottage cheese that comes from curdled milk. It is a vital element in many Indian dishes, such as palak paneer, paneer butter masala, and paneer tikka. The advantage of homemade paneer is that it is typically fresher and often more tender than store-bought options.
## Ingredients Required
To prepare paneer, you will need:
– **Full-fat milk**: 1 liter (the richer the milk, the creamier the paneer)
– **Curd (yogurt)** or an acidic agent: 2-3 tablespoons (you can also use lemon juice or vinegar)
– **Ice cubes**: A handful (to halt the cooking process)
– **Muslin cloth** or a fine sieve: For draining the paneer
## Step-by-Step Paneer Procedure
### Step 1: Boil the Milk
1. Pour the full-fat milk into a heavy-bottomed pot and bring it to a boil over medium heat. Stir occasionally to prevent the milk from burning.
### Step 2: Curdle the Milk
2. When the milk reaches a vigorous boil, lower the heat. Gradually add the curd (or your selected acidic agent) while gently stirring. You will see the milk beginning to curdle, with the solids separating from the liquid.
### Step 3: Check for Curdling
3. When the milk has fully curdled, you will see clear whey (the liquid) separating from the curds (the solids). If the milk hasn’t fully curdled, add a little more curd or lemon juice until it does.
### Step 4: Add Ice Cubes
4. To cease the cooking process and ensure the paneer stays soft, add a handful of ice cubes to the curdled milk. This will help cool down the mixture swiftly.
### Step 5: Drain the Curd
5. Line a sieve or colander with muslin cloth and place it over a bowl to collect the whey. Pour the curdled milk into the sieve, letting the whey drain away.
### Step 6: Rinse the Curd
6. Rinse the curds under cold running water to eliminate any leftover acidity and to cool it down. This step is essential for achieving a soft texture.
### Step 7: Squeeze Out Excess Liquid
7. Gather the corners of the muslin cloth and twist it to remove excess liquid. For softer paneer, you may leave some moisture in. If you prefer firmer paneer, squeeze out as much liquid as you can.
### Step 8: Set the Paneer
8. Place the wrapped paneer on a flat surface and add a heavy weight on top. For softer paneer, let it sit for about 10 minutes. For firmer paneer, allow it to rest for 30 to 45 minutes.
### Step 9: Unwrap and Cut
9. Once set, remove the paneer from the muslin cloth. Cut it into cubes or any shape that you like.
## Tips for Crafting Soft Paneer
– **Use Full-Fat Milk**: The creamier the milk, the softer the paneer.
– **Curd as a Curdling Agent**: Utilizing yogurt produces a softer paneer compared to lemon juice or vinegar.
– **Add Flavor**: You can boost the flavor of your paneer by incorporating herbs and spices during the curdling process, such as mint leaves, coriander, or black pepper.
– **Storage**: Keep the paneer in water in the refrigerator to maintain its freshness and moisture.
## Conclusion
Creating paneer at home is a gratifying experience that permits you to savor fresh, soft cheese customized to your preferences. With just a few basic ingredients and steps, you can produce a versatile component that can be used in numerous dishes. So, the next time you require paneer for your recipes, bypass the store-bought varieties and try making it at home! Enjoy your culinary journey!