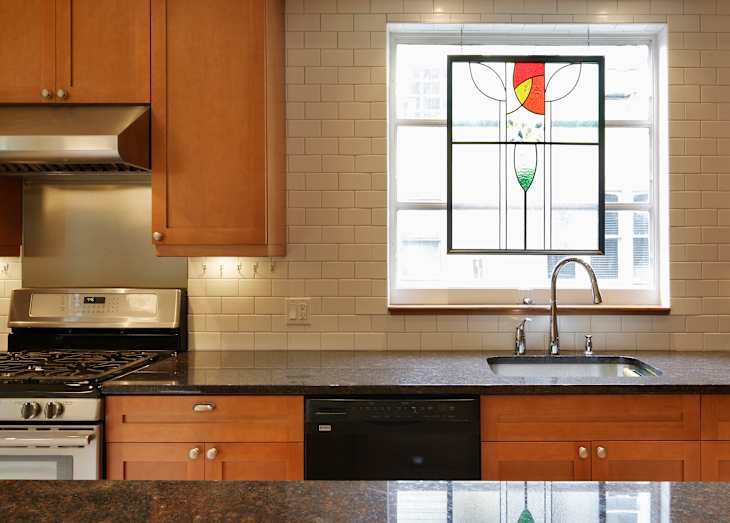
Refreshing the tile can completely change and elevate a space, especially in a kitchen or bathroom. Several years ago, when we decided to install a tile backsplash in our kitchen, the transformation that resulted was nothing short of incredible. It freshened the space between my cabinets and countertops in a way I hadn’t imagined!
Over time, however, with regular cooking, the backsplash became dingy thanks to splatters and splashes. Regular cleanings just aren’t doing the trick, and I knew I wanted to freshen it up without totally replacing it. Luckily, I found the perfect solution.

How I Refreshed My Tile for $20 (by Myself!)
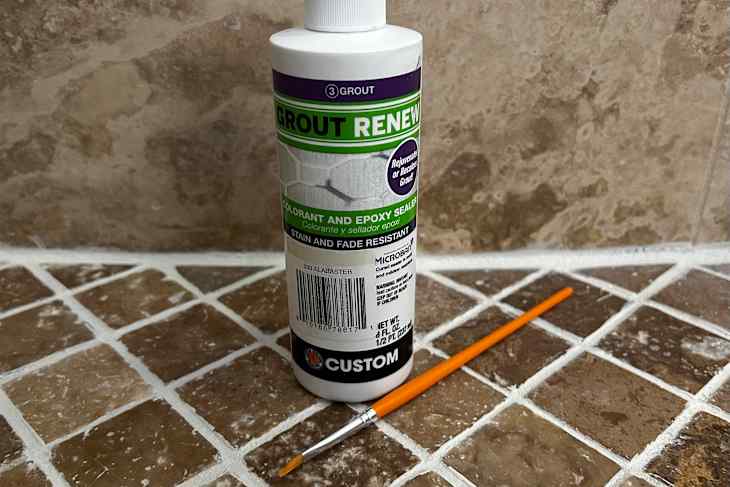
I researched ways to improve the look of my tired tile and quickly came across Grout Renew Colorant, an easy way to change the color or reseal your grout without hiring a professional — for just $20.97. It comes in 40 colors, and everything online said it was easy to apply yourself on any grouted surface, and it would prevent future stains. It can be used indoors and outdoors, and is resistant to color fading, mildew, and mold on cured grout. I felt like I had found the golden ticket!
I decided to test out the colorant in a less conspicuous spot than my kitchen backsplash, just in case it didn’t go as planned (if I wasn’t happy with the result, I didn’t want to have to add ripping out my kitchen tile to my weekend to-do list anytime soon). Luckily, the tile floor in my shower had become just as dirty looking — if not more so than the kitchen backsplash — so I tested it out there first.
I chose the Alabaster color, which was just slightly lighter than the shade of the original grout that was already there. My hope was that a lighter shade would create a fresher look for the dingy grout lines. The directions on the back of the colorant bottle suggest using a soft-bristled toothbrush to apply the colorant. That was easy enough and could be found at any grocery store, or even in your bathroom cabinet, so I picked one up to prepare.
I also grabbed a pack of paintbrushes just in case the toothbrush didn’t work as expected and got to work. I started by thoroughly cleaning the tile and grout, which the instructions say “opens up the pores” to help the colorant penetrate and bond with the grout. When I got into the painting process, it took some time to find a rhythm and steady hand. The varying sizes of paintbrushes were useful, and I switched out brushes a few times. Some of the grout lines varied in width, so the different-size brushes were ideal for laying the paint into the grout lines with just the right width.
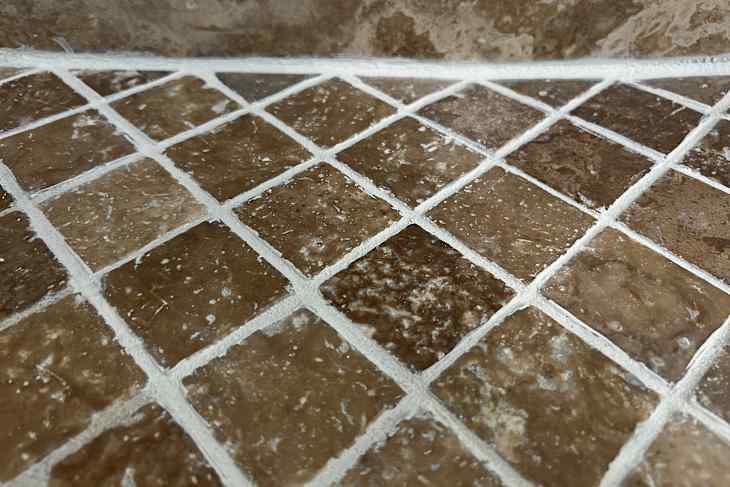
It wasn’t mess-free, of course — there was excess colorant that, at times, ended up on the tile itself. I definitely recommend having a cleaning rag nearby to wipe away any excess paint on the tile. Painting the liquid colorant, then wiping the lines was the cadence I settled into as I went along. I finished up the tile flooring in the shower, and I followed the directions, allowing the tile to fully dry for 72 hours and admired the totally updated look of my bathroom.

The Final Verdict
After I finished up with the shower floor, I was convinced: This was definitely a process that I could apply to the kitchen backsplash. Since it’ll be a bigger job with more square footage to cover, I’m saving it for a rainy weekend. It’s also one of those projects that I think you could batch out segments whenever you have some time to spare. Just be sure to clean the paintbrushes as you go.

If it seems intimidating, don’t worry — honestly, I was astonished at the ease of this entire process. Additionally, the brand, Custom Building Products, has tons of helpful, easy-to-follow videos online that can make the application even easier with tricks and tips for different spaces and surfaces.
For less than what I’d spend on takeout, I completely transformed and refreshed the tile in my bathroom shower, saving hundreds, if not thousands, by DIY-ing the entire project with a simple, small bottle of grout colorant and a few crafting paintbrushes. I can’t wait to do it again!