How to Create Flawless Gravy Each Time
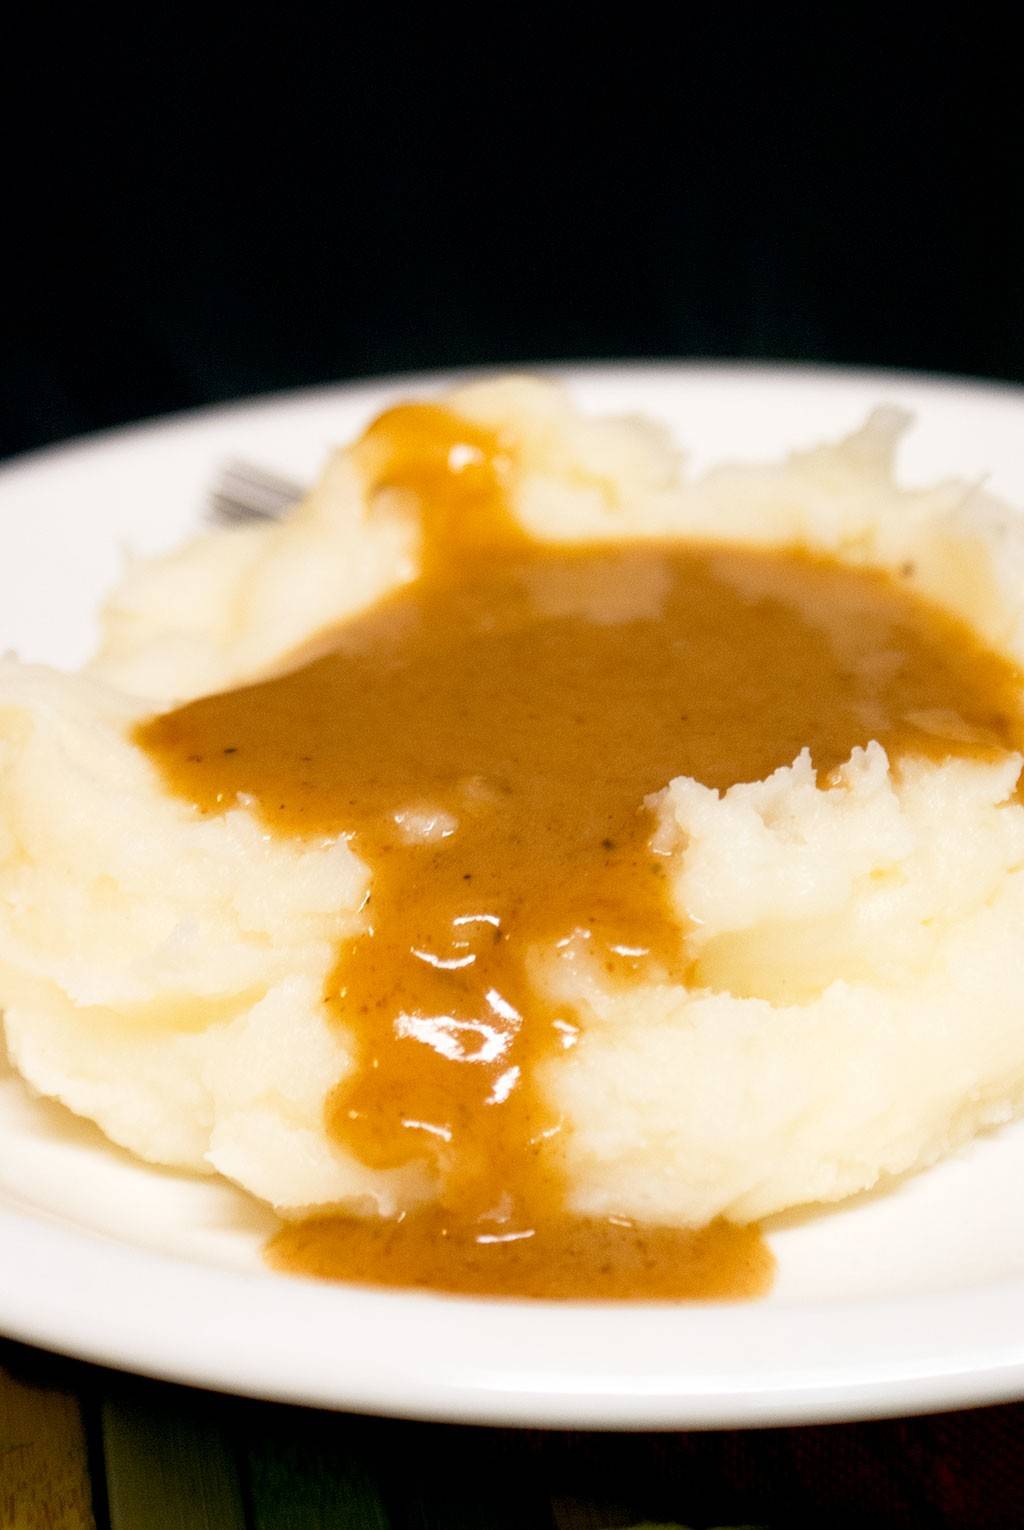
Luxurious, creamy, and filled with taste, gravy is a cherished complement to numerous dishes, especially during holiday celebrations. Whether poured over fluffy mashed potatoes, paired with roasted meats, or utilized as a foundation for savory sauces, a well-crafted gravy can enhance any meal. With just a handful of straightforward ingredients—flour, broth or meat drippings, and spices—you can concoct a perfect gravy that is silky smooth and free from lumps. Here’s how to get started!
Main Advantages of Homemade Gravy
- Consistent Smoothness: By following the correct method, you can obtain a smooth, lump-free gravy without fail.
- Flexible: Gravy can be prepared without drippings, utilizing broth instead, making it suitable for any event.
- Deep Flavor: Homemade gravy offers a rich, savory taste that can be enhanced with a variety of drippings, such as turkey, pork, chicken, or beef.
- Cozy Flavor: Incorporating poultry seasoning and fresh herbs imparts a warm, homestyle taste that is simply irresistible.
Components for Homemade Gravy
To whip up a tasty homemade gravy, you will require:
- Drippings: The savory fat and juices that render off the meat while roasting. Be sure to scrape up the browned bits (fond) at the bottom of the roasting pan. If drippings are unavailable, broth can serve as a substitute.
- Flour: All-purpose flour is used to make a roux that thickens the gravy.
- Spices: Poultry seasoning adds flavor depth, or you may include fresh herbs like parsley, thyme, sage, or rosemary for extra zest.
Gravy Variations
If you’re short on drippings, no need to fret! You can still prepare delightful gravy using just butter or a mix of butter and oil. This will provide a buttery taste that is enjoyable on its own.
To achieve a richer flavor, think about browning the flour before adding any liquid. A pinch of dried rosemary and onion powder combined with your poultry seasoning can also enhance the flavor significantly.
Holly’s Suggestions for Ideal Gravy
- Scrape Up the Brown Bits: Use a spatula to lift the browned particles from the bottom of the roasting pan, as they contribute immense flavor. If needed, add a drizzle of broth to assist in lifting them.
- Separate the Fat: Employ a gravy separator or a spoon to divide the fat from the juices. This step is essential for obtaining the correct consistency.
- Add Broth Gradually: Combine the fat with flour first, then slowly incorporate the broth while whisking to maintain a smooth mixture. It may seem thick initially, but it will loosen up.
- Brown the Roux: Cook the fat with flour until it achieves a light brown hue for an enhanced flavor.
- Sample and Adjust: Always taste your gravy and season with salt and pepper as necessary. Fold in fresh herbs just before serving for a touch of brightness.
Best Method to Store Gravy
- Prepare in Advance: You can make homemade gravy up to two days prior and keep it in the refrigerator. Reheat on medium-low heat, whisking until smooth.
- Refrigeration: Store leftover gravy in a sealed container in the fridge for up to four days. Gently reheat on the stovetop.
- Freezing: For extended storage, freeze gravy in zippered bags for as long as four weeks. Thaw in the refrigerator overnight or reheat in a saucepan on medium-low heat.
Final Thoughts
Mastering the art of making perfect gravy is a skill that can enrich your cooking abilities. With a few basic ingredients and straightforward techniques, you can produce a rich, smooth, and flavorful gravy that will impress your family and friends. Whether you’re gearing up for a festive celebration or a warm family dinner, this homemade gravy recipe is destined to become a go-to in your kitchen. Relish the comfort and joy of homemade gravy, and be sure to leave a rating and comment if you give this recipe a try!