# The Simplest Japanese Milk Bread Recipe You Could Ever Dream Of
No tangzhong, no yudane, no overnight rise—just same-day, soft, and airy bread.
## Japanese Milk Bread
This is the bread I wish to reside in. I want to snuggle into a squishy bread sleeping bag and just fantasize all day about toast and its toppings. I’m fairly certain I’ve mentioned this previously, but opening a toast café would be my ultimate aspiration. In my toast café, I would offer toast (naturally), but I would also provide loaves upon loaves of this wonderfully fluffy bread.
There’s something so soothing about milk bread, otherwise known as Japanese shokupan. Is it its satisfying squishiness? The fact that it reaches another level in Japan? Or is it simply that I adore soft white bread, and milk bread is the epitome of it? I may never discover the answer, and I’m fine with that because I am joyfully eating and searching for the ideal milk bread recipe.
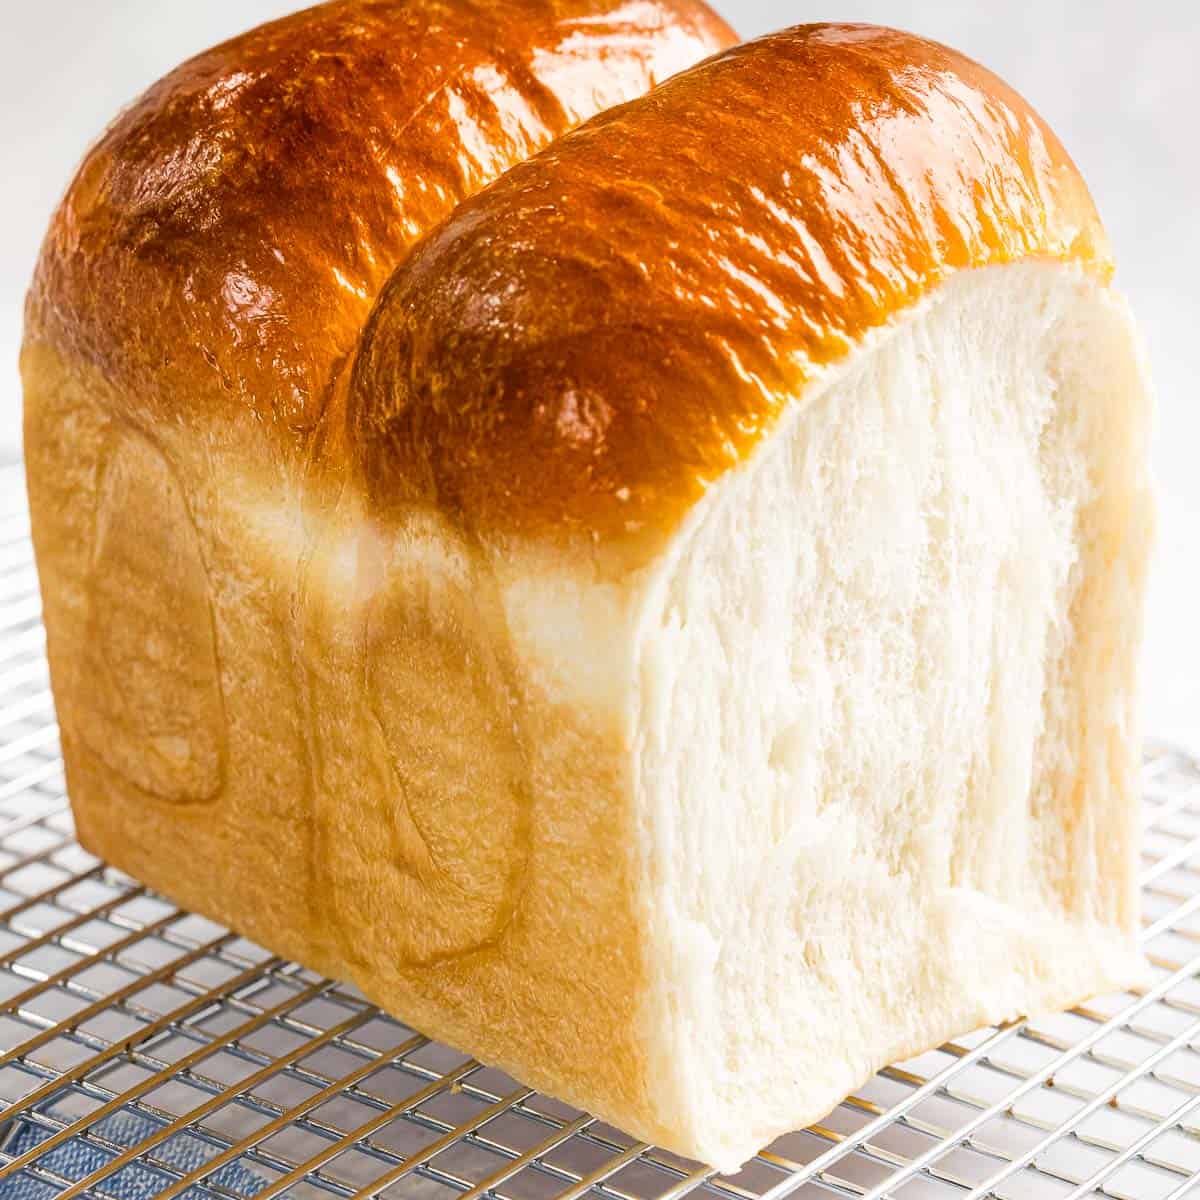
I prepared this milk bread in what is referred to as “mountain style” or “yama” (山) in Japanese. This is due to the rounded mounds resembling mountain peaks.
## What is Milk Bread?
Milk bread is a Japanese-style white bread that is remarkably soft, white, fluffy, and easily torn apart. It has crusts that are tender and thin, while the insides are milky-sweet with a feather-lightness that dissolves in your mouth. There are literally hundreds of bakeries across Japan that specialize in milk bread, where customers frequently queue for hours. Shokupan, or milk bread, is both a straightforward and elevated matter in Japan. Much like ramen, there are numerous methods by which it’s prepared. Some loaves are crafted with yudane, a roux created from a blend of boiling hot water and flour; some utilize tangzhong, a cooked roux made from flour and water; and others are made simply with a blend of flour, milk, sugar, and yeast. Incorporating eggs and butter alters the flavor profile and texture.
## What is Hokkaido Milk Bread?
Hokkaido milk bread is the same as this Japanese milk bread but produced using ingredients like milk and flour from Hokkaido. Does it make a difference? Yes! But is it superior? It hinges on your palate and what you’re accustomed to. Nogami famously opts for Canadian flour instead, believing it to be better.
## My Favorite Japanese Bread Recipe
This specific recipe lacks yudane or tangzhong, yet remains extraordinarily soft and shreddable. Even days after baking, the slices remained soft, squishy, and moist. It’s the finest loaf of milk bread I’ve ever created, possessing just the right amount of sweetness with a light, yet chewy, tight crumb.
## Milk Bread Ingredients
– **Milk** – Milk bread wouldn’t be milk bread without milk. I prefer full-fat milk to truly savor the creaminess. If only I were still in Japan, I would utilize Hokkaido milk for a Hokkaido milk bread!
– **Egg** – A whole egg is incorporated to render the milk bread extra rich. The yolk softens and lightens the crumb, and since eggs act as a leavener, you also achieve a very tall loaf.
– **Yeast** – You can’t bake bread without yeast! I use instant dry yeast, which can be added directly to the flour and doesn’t require activation in warm water.
– **Sugar** – All milk loaves possess a touch of sweetness courtesy of sugar.
– **Butter** – Butter contributes additional richness.
– **Flour** – It’s advisable to use bread flour, as it contains more protein than all-purpose flour. The higher protein content is what develops gluten, giving this loaf its soft and shreddable strands.
– **Salt** – Just a pinch of salt for flavor.
## How to Make Milk Bread
1. **Add.** In the bowl of your stand mixer, add in this sequence: water, milk, egg, yeast, sugar, butter, flour, and salt.
2. **Knead.** Mix on low for 5 minutes using the dough hook, then increase to medium and knead for at least 15 minutes. You want to knead until you reach the windowpane stage: pinch off some dough and stretch it out; if you can stretch it thin without tearing, you’re set to go.
3. **Proof.** Gather the dough into a ball and let it rest and rise.
4. **Shape.** Divide the dough into 3 equal sections, then shape the dough into jelly rolls. The jelly roll shapes will assist the bread in becoming extra fluffy. Place it into a loaf pan.