# Simple No-Bake Cheesecake Cups
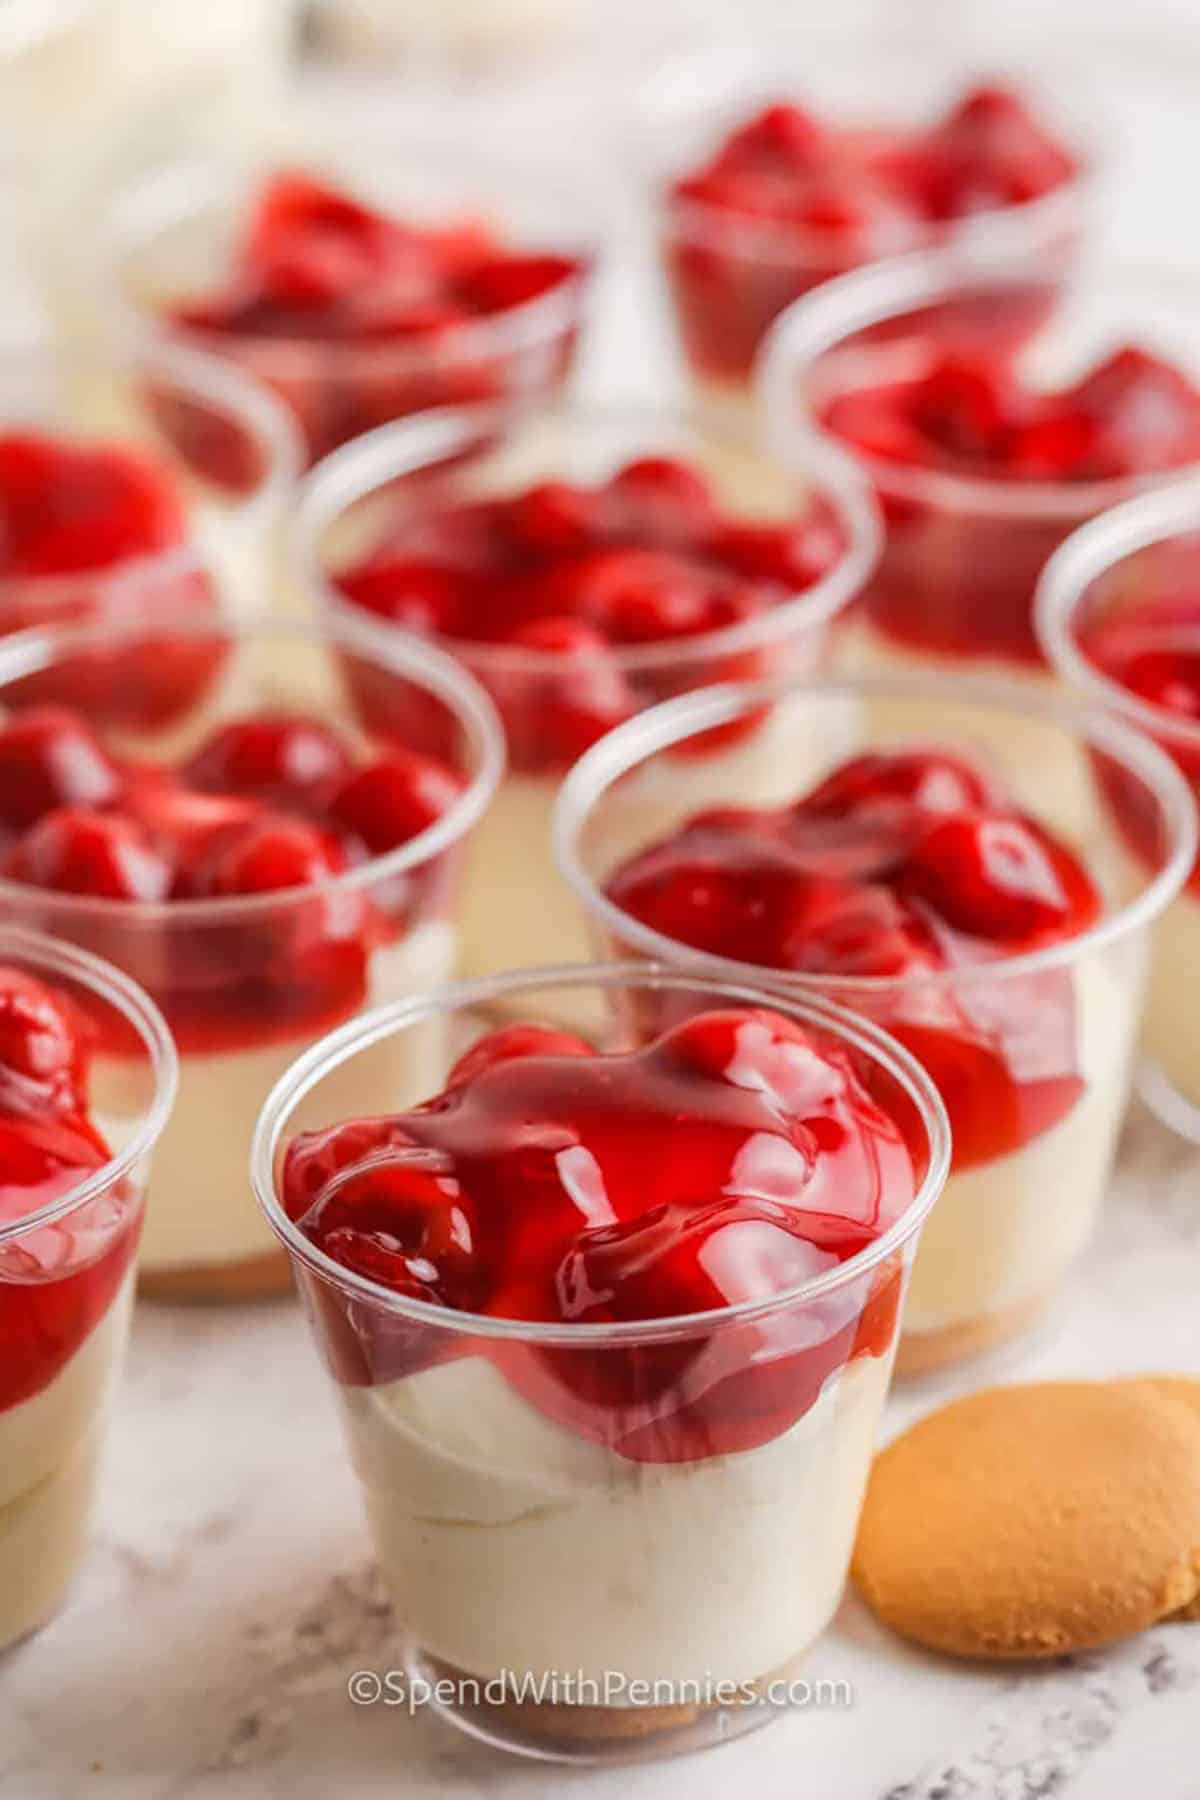
These simple no-bake cheesecake cups make for an ideal single-serve dessert that comes together swiftly yet tastes like an extraordinary indulgence. Featuring a smooth, airy filling on a vanilla wafer foundation topped with your chosen fruit pie, they’re delightful, festive, and utterly tempting.
## Flavor Profile
– **Flavor**: Light, creamy cheesecake paired with a soft vanilla wafer layer and a dollop of fruity topping.
– **Why Create It**: These individual cheesecake cups are quick to prepare, easy to pre-make, and great for entertaining without needing to slice.
– **Skill Level**: Beginner-friendly with straightforward steps and no baking necessary.
– **Make-Ahead Tip**: Refrigerate the cups prior to serving so that the filling firms up and the wafers soften into a delicate, crust-like layer.
## Ingredient Notes
– **Cheesecake Filling**: Utilize a full-fat block of cream cheese and allow it to soften entirely for the smoothest outcome. Whipped heavy cream adds lightness and fluffiness, while a touch of cornstarch helps maintain its shape.
– **Vanilla Wafer Base**: Whole vanilla wafers enable quick assembly for these cheesecake cups, softening as they sit. Substitute with graham crackers, shortbread, or Oreos for an exciting variation.
– **Fruit Pie Filling**: Cherry, strawberry, and blueberry pie fillings are always favorites among crowds. Switch it up with fresh berries, lemon curd, caramel, chocolate sauce, or crushed cookies.
– **Toppings**: Enhance with whipped cream, lemon zest, mini chocolate chips, crushed cookies, or toasted coconut for added color and texture, or keep it simple with solely the fruit topping.
– **Variations**: Create mini cheesecake cups in smaller containers for dessert platters, incorporate lemon zest in the filling for extra zestiness, or forgo the pie filling and top with fresh fruit right before serving.
## How To Prepare Cheesecake Cups
1. Whip the cream cheese until it becomes smooth.
2. In another bowl, prepare whipped cream. Gently blend the whipped cream into the cream cheese.
3. Place a vanilla wafer cookie in each cup’s base and pipe the cheesecake into each cup.
Chill for a minimum of 1 hour. Top with your preferred fruit toppings and savor!
### Tips for Success
– **Smooth Cream Cheese**: Ensure the cream cheese is fully beaten for a silky and creamy filling.
– **Longer Chill**: The filling becomes thicker as it cools, and the wafer turns into a soft layer.
– **Pipe The Filling**: Use a piping bag to fill the cups with the mixture for neater layers and to expedite assembly.
– **Attractive Layers**: Spoon the pie filling over the cheesecake layer rather than mixing it in for distinct layers and better presentation.
– **Pre-Making**: The filling stays stable, the wafer softens, and the cups last well in the refrigerator for several days and can also be frozen.
## Storing Leftovers
Store any remaining portions in an airtight container in the fridge for up to 5 days. They can be frozen for up to 2 months. Defrost in the refrigerator overnight prior to serving.
## Must-Try Individual Desserts
These cheesecake cups represent just one of countless delightful individual desserts you can craft. Try out varying flavors and presentations to discover your favorites!
Enjoy creating these simple cheesecake cups and impress your friends and family with this delightful dessert!